With Uncanny Automator Pro and the Google Sheets webhook app, updates made to data in a Google Sheet can be passed in to Automator recipes. That makes it possible to update user data from a master list in a Google Sheet, update Woo product data and more.
Install the Google Sheets Webhook app
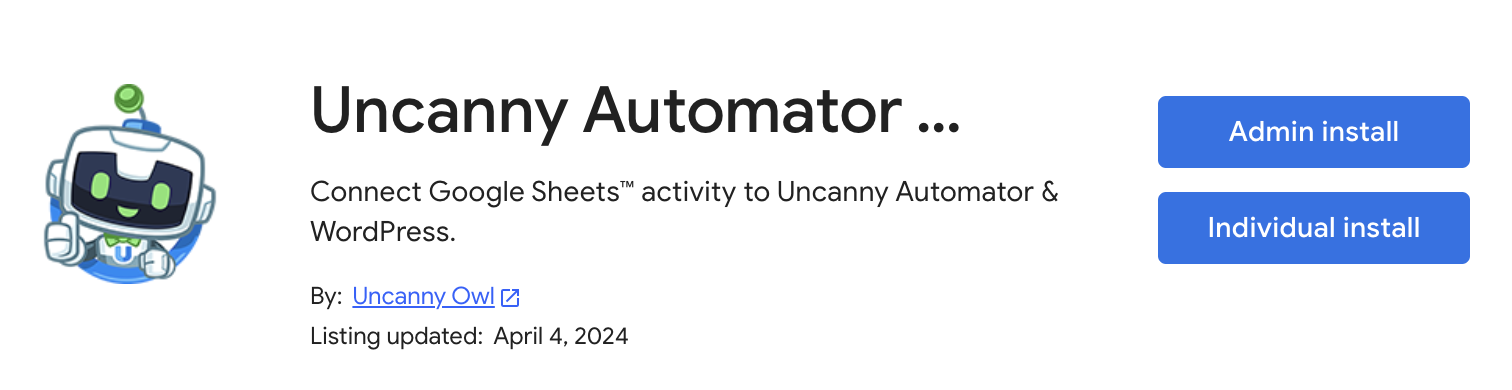
The best way to get started with the webhooks app is to visit the product page in the Google Workspace Marketplace; click here to visit the page now.
When you are signed in to the account that you has access to the Google Sheets you want to connect to Uncanny Automator and visit the product page, you may have options to do an admin install (if you own a Google workspace) or an individual install. In most cases, an Individual Install is most appropriate.
 You will then see several pages from Google to choose an account to connect and agreeing to various permissions. Since this app will be sending data from your sheet to an Automator recipe, the app does need permission to see data in your sheets.
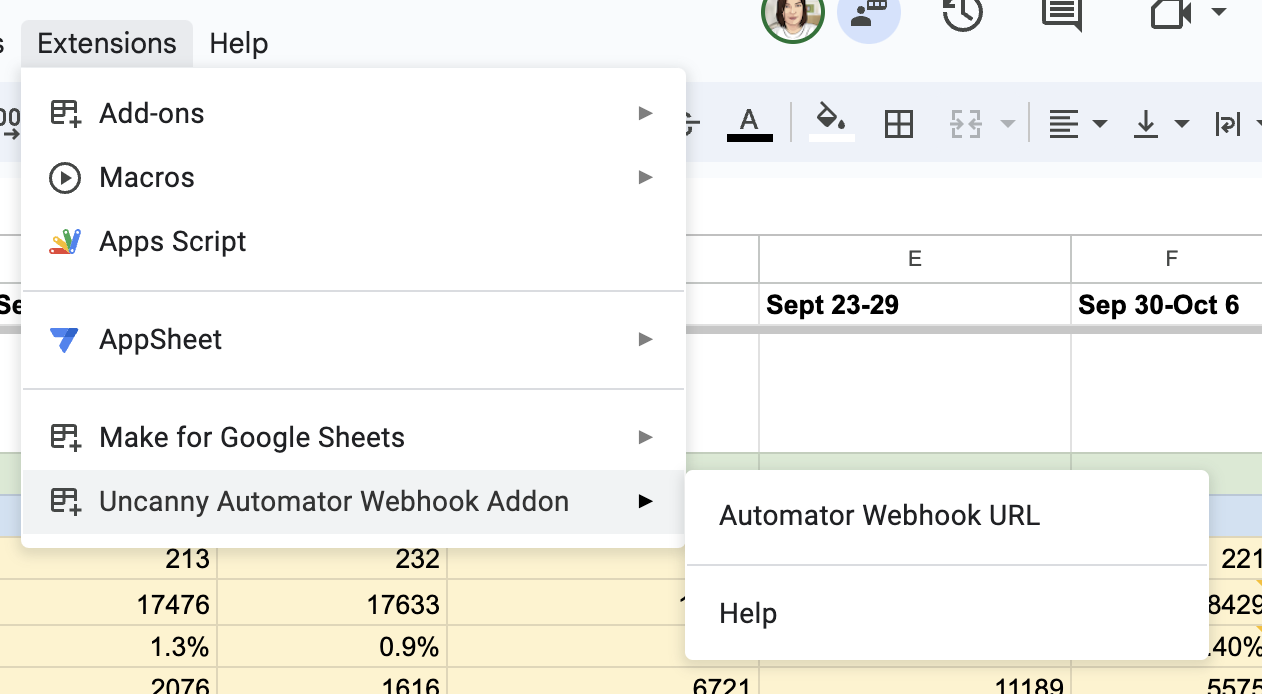
Once this is done, you can find the new Webhook addon in your Extension menu of Google Sheets, like this:
Before you set up the webhook URL, we highly recommend that you finish adding any headings you might be using in your sheet and a row of sample data. This will make it easier to configure the recipe later and you won’t send extra data to your site.
When you’re ready, click the Automator Webhook URL entry in the screenshot above. There you will be prompted to enter a webhook URL, which you will get from your Automator recipe.
Setting up the Google Sheets trigger
After completing the steps above, it’s time to start setting up a new Automator recipe.
Create a new recipe, and choose Everyone as the type. Since the recipe may or may not be linked to a WordPress account, and data arrives anonymously, it must be an Everyone type.
Now choose the Sheets Web App integration. The trigger will look like this:
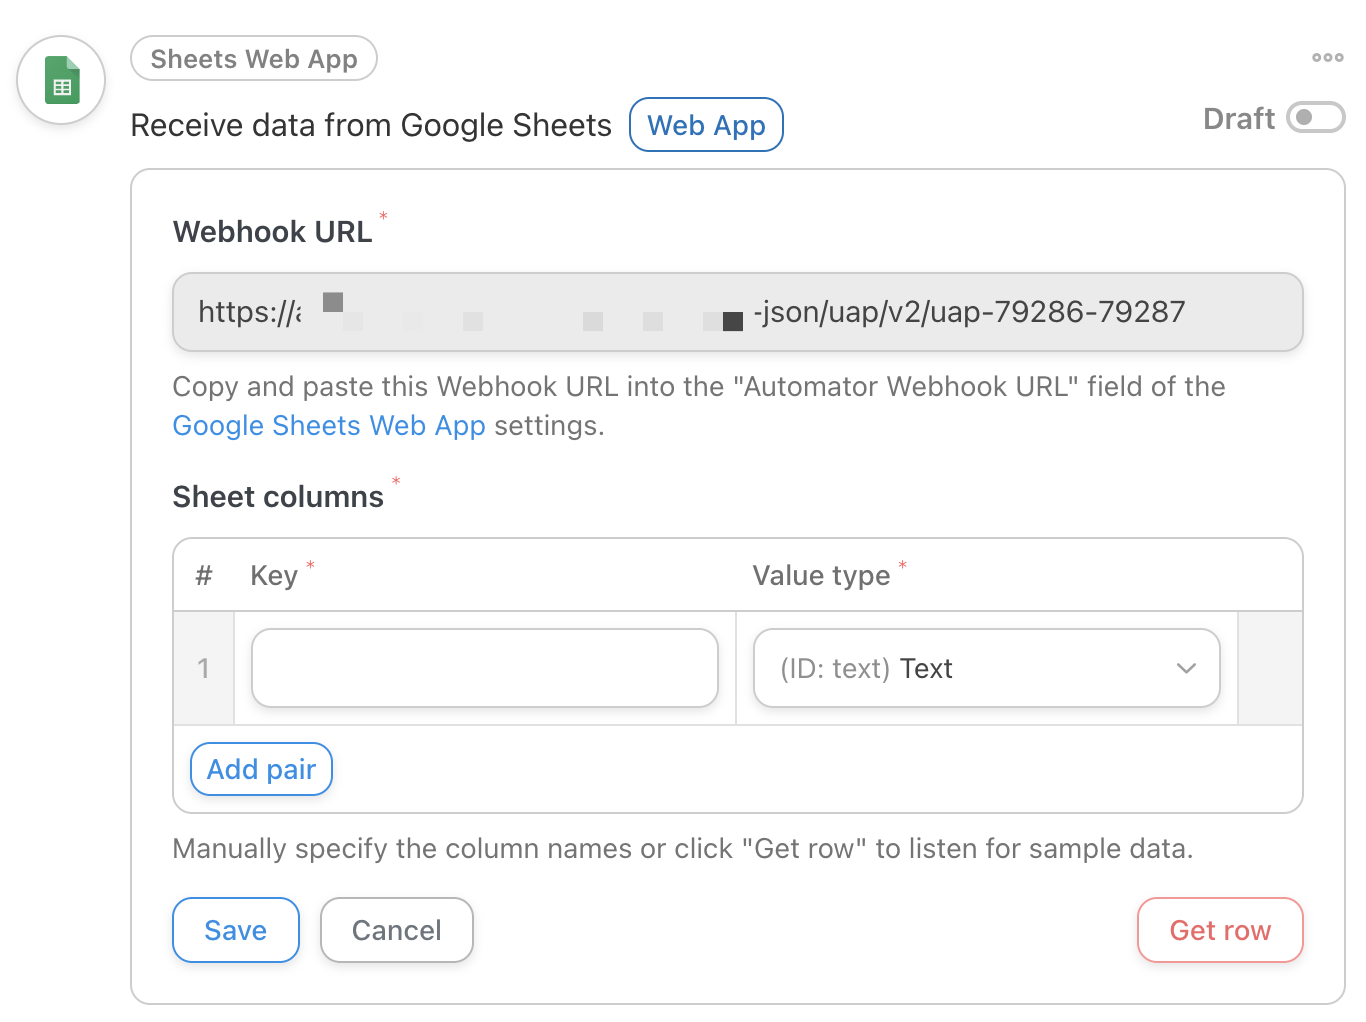
Copy the URL in the Webhook URL field over to the “Enter Webhook URL” field fromthe app in Google Sheets, which looks like this:
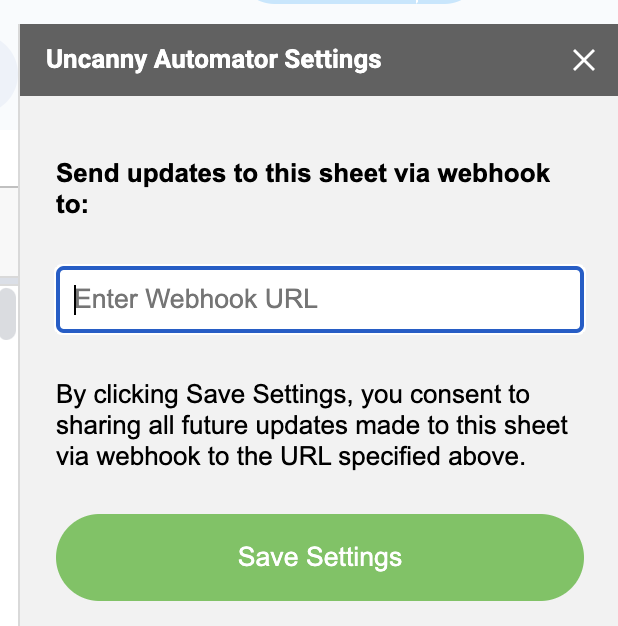
Click Save Settings. This will direct future cell update data to the webhook URL.
Back in the Automator recipe, click the Get row button. Switch back to the Google Sheet, change the value in one of your cells, move the focus, and return to the Automator recipe to see the sample details.
Assuming the sample was collected successfully, you will see a modal like this one:
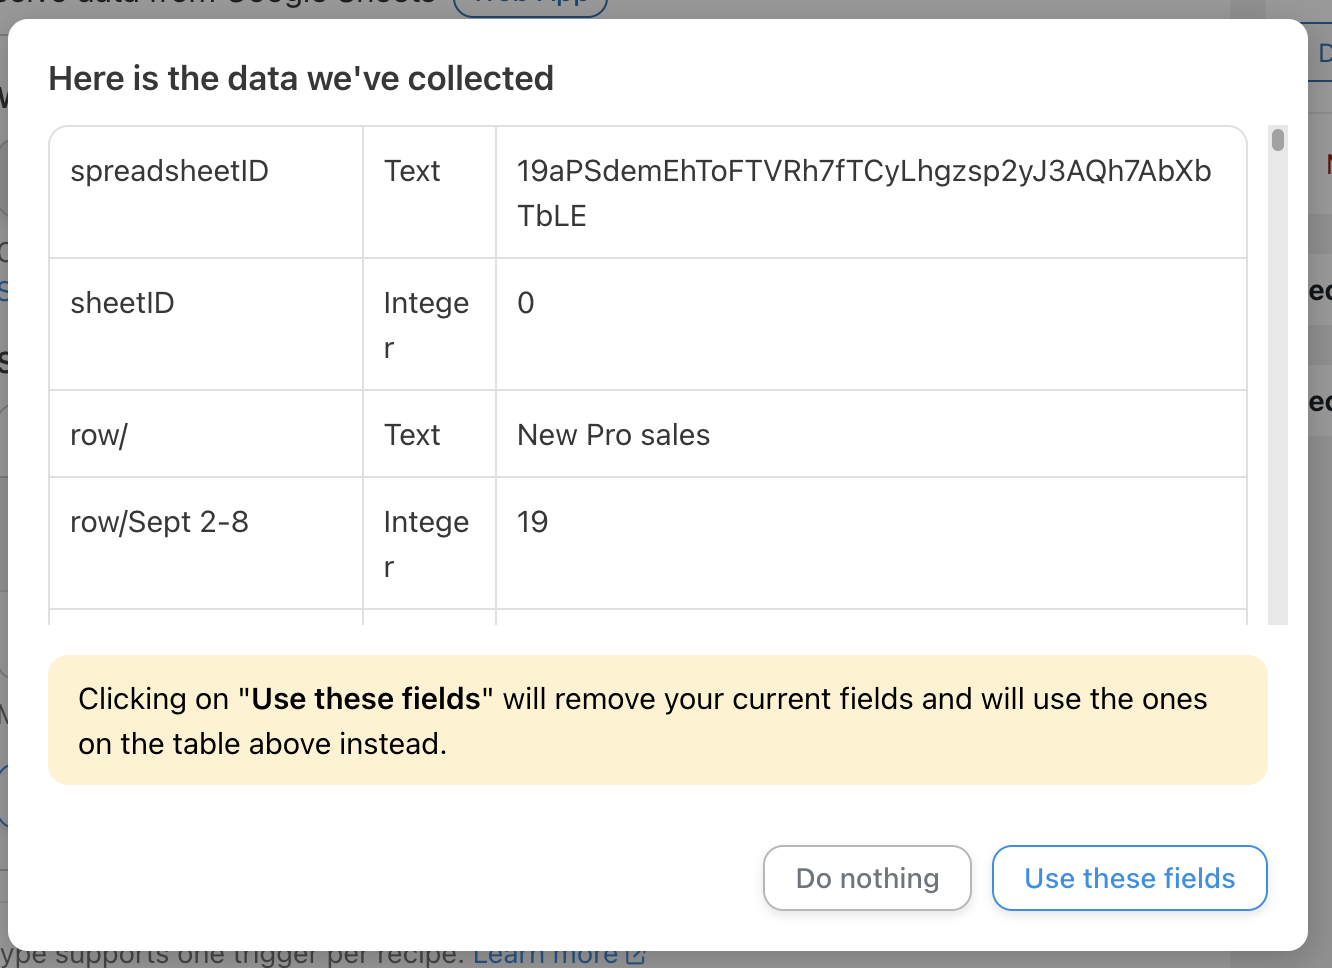
Click the Use these fields button to accept the sample and set up the various values as tokens that you can use in your actions. If there are any values you don’t need, you can certainly remove them from the “Sheet columns” table. When the mappings look fine, click Save in the trigger to store your mappings.
You can now proceed with setting up the rest of your recipe and taking it live.
Important Notes
The Webhook app does have some important behaviours that should be considered as you start using the integration.
- Google Sheets will only send data out via webhook when a value is manually updated and focus is moved away from the cell. This means that updates via formulas or anything done automatically will not trigger data updates.
- The app itself is not restricted to Automator use. If you want to send data to another webhook target, you can use our web app for it.
- Google Sheets will send data for ALL updates, and typically this will be more webhook volume than you might expect. It also sends records for ALL columns in a row, so you might see a lot of incoming data in your logs. This is normal and based on how Google Sheets sends data for updates.


