Revive old WordPress posts with AI and Uncanny Automator. Learn how to reverse content decay…
How to Customize WooCommerce Checkout Fields
Your checkout page is the final step in the sales process—so make the most of it! Learn how to create and manage your custom Woo checkout fields with Checkout Field Editor and Uncanny Automator.

Are you looking for a way to create custom checkout fields for your Woo store? Maybe you have already customized your checkout form but you’re not sure how to retrieve this valuable form data?
Either way, you’ve landed on the right page!
In this post, we’ll introduce you to a powerful tool for creating custom WooCommerce checkout fields. Then we’ll show you how Uncanny Automator can help you access your custom field data.
Want to store your custom fields data in Google Sheets? How about syncing your custom checkout fields with your CRM? Automator has you covered! And we’ll show you how it’s done.
But that’s enough of an introduction for now. Let’s get into the good stuff. (If you already have the Checkout Field Editor, we recommend jumping ahead.)
Introduction to Checkout Field Editor
Right out of the box, Woo has a fully-loaded checkout page with all of the must-have fields for processing your orders. From billing and shipping information, to email, phone and even order notes, the standard Woo checkout page is ready-made for the average Woo business.
However, we’re pretty sure that your business is not average. That’s where the Checkout Field Editor plugin comes in.
With the click of a button, you can easily add customized fields to your Woo checkout page. Want to add additional contact fields, such as a secondary phone number or personal extension? How about a field for preferred delivery dates and methods? Or a “How did you hear about us?” field.
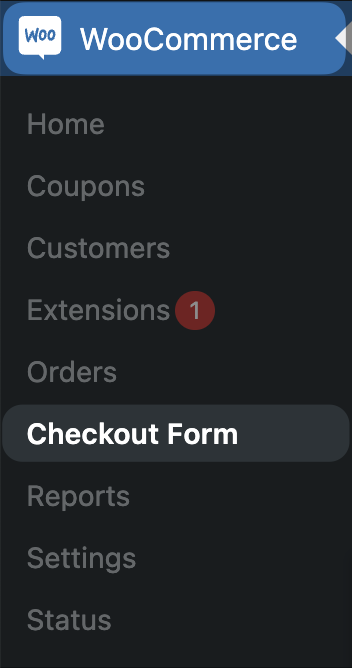
The Checkout Field Editor allows you to create all of those fields and many more!From your WordPress Admin Dashboard, simply navigate to WooCommerce > Checkout Form.
From there, it’s just a matter of clicking Add field and configuring a brand new field to add to your checkout form.
In the video above, we added a simple phone field. But, the Checkout Field Editor has tons of features to help you create any kind of checkout form your Woo business requires.

If you haven’t already, get the Checkout Field Editor now >>>
How to Use Custom Checkout Fields
Now that you’ve gotten the hang of creating your own custom checkout fields with the Checkout Field Editor plugin, there are a few details you’ll want to keep in mind.
Checkout Field Editor stores your custom field data within the order meta—that’s how Automator can find it! For example, the standard Woo checkout fields “Billing First Name” and “Billing Email” have meta keys (names) and meta values (the data customers enter).
These names usually follow a convention of words separated by underscores. For example, “Billing First Name” would be “billing_first_name” and “Billing Email” would be “billing_email”.
When creating your own custom fields, it’s easiest to simply follow this convention. However, you can use almost any naming convention that is easy for you to remember.
If you ever need help remembering a custom checkout field name, simply navigate to WooCommerce > Checkout Form from your WordPress Admin Dashboard. The meta key that you will need to retrieve a particular checkout field will be under the Name column.
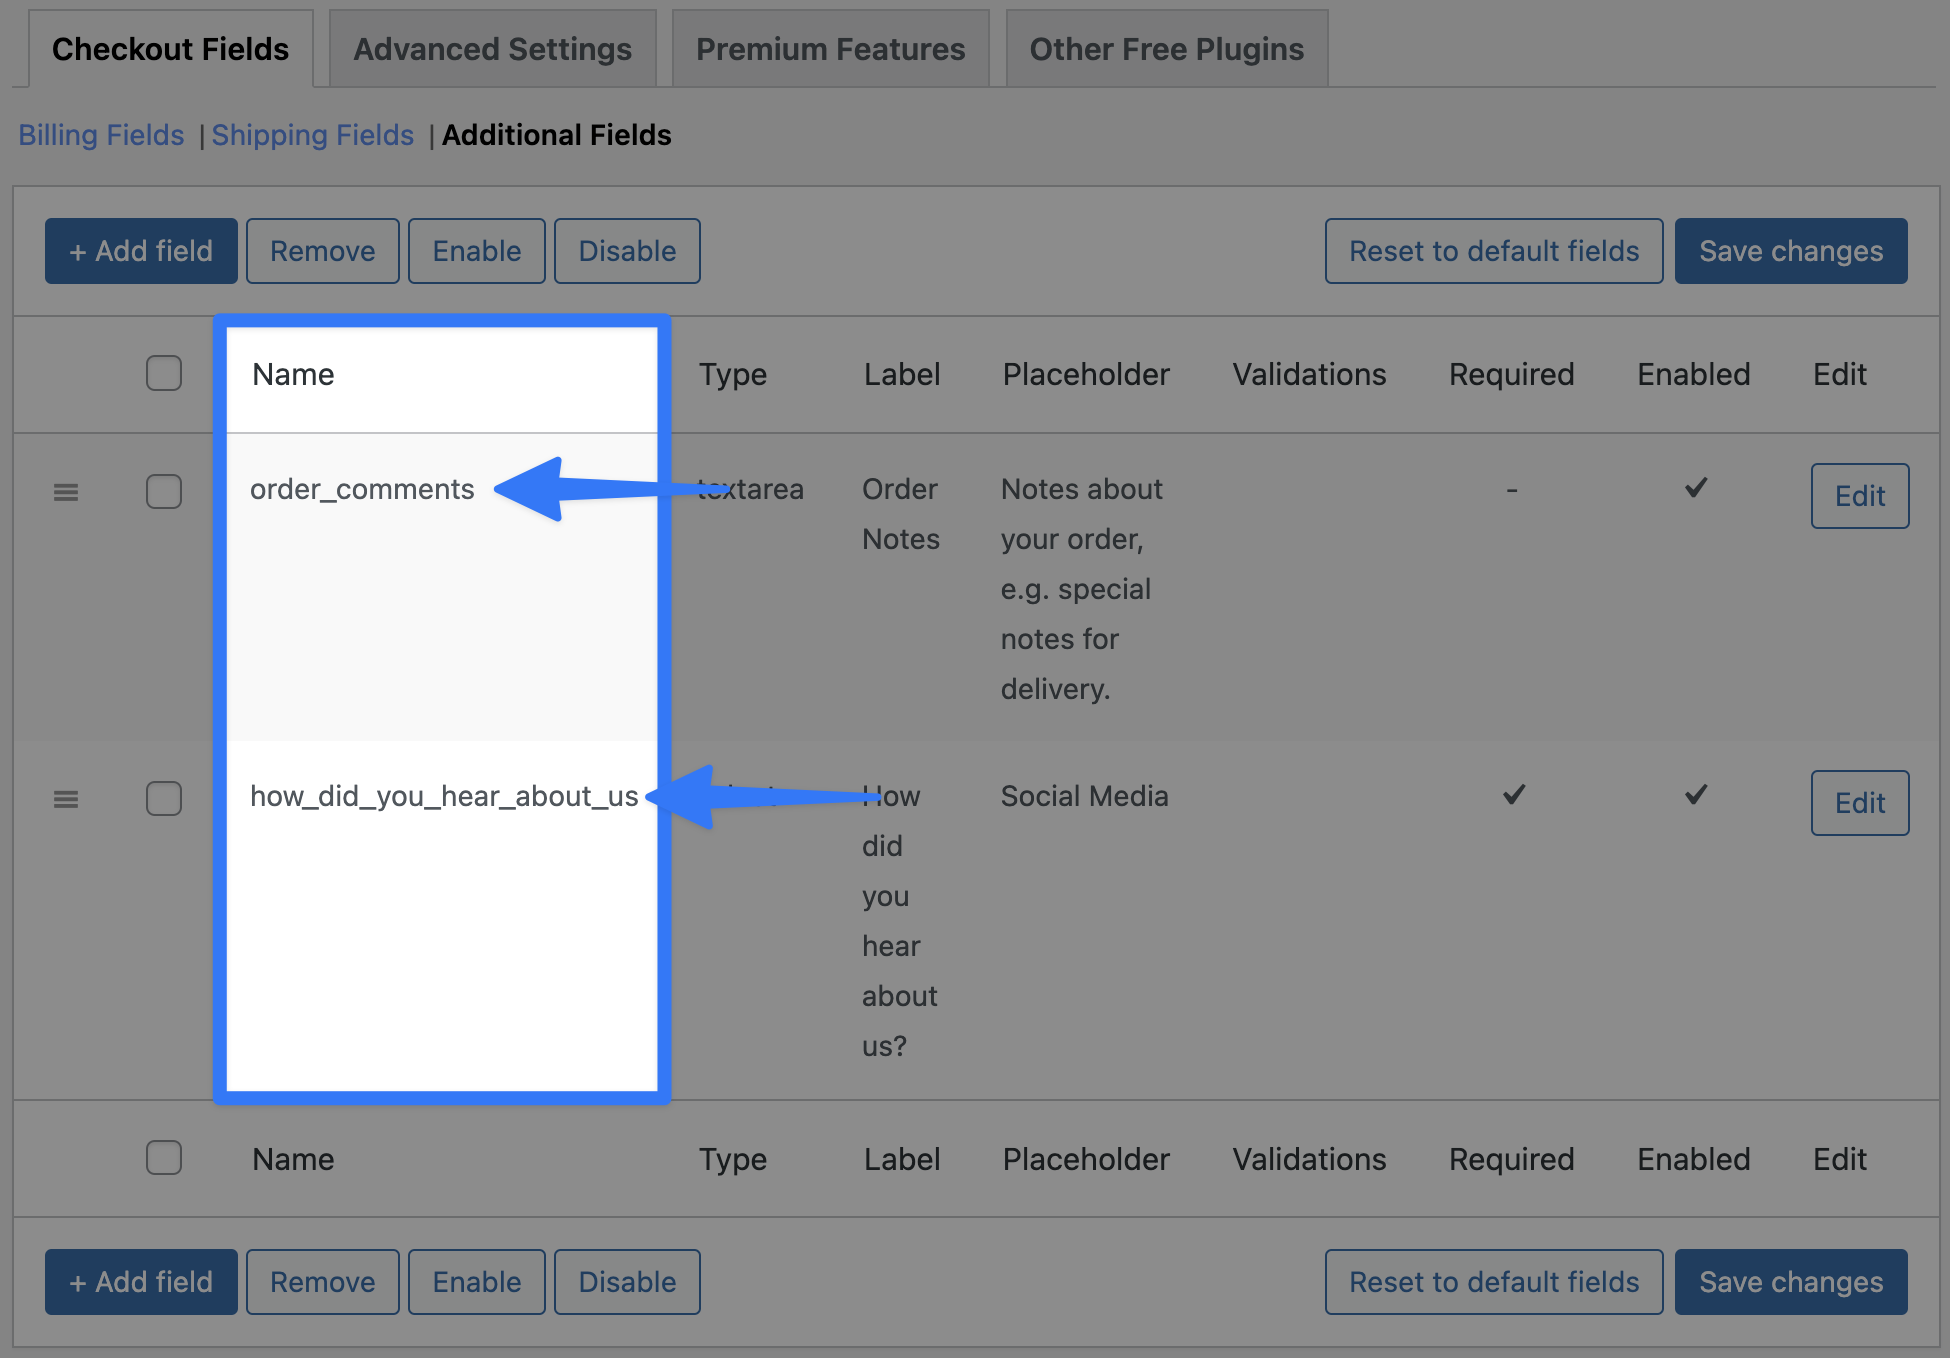
You will use these names later on to retrieve the data that your customers entered at checkout.
Note: This article assumes that you are using the standard Woo ordering system where order details are stored in post meta. If you are using High-Performance Order Storage, this will not work.
Automator by Uncanny Owl
If you ever find yourself wondering, “How do I connect this plugin to the other one?” just think of Uncanny Automator!

As the #1 automation and integration tool for WordPress websites, Automator connects all of your favorite apps and plugins together. In fact, thanks to some nifty features that we’ll show you later in this post, it’s even better at integrating apps and plugins than they are integrating themselves!
When it comes to managing your custom checkout fields, for example, Automator offers some unique advantages.
- Access metadata: Automator gives you direct access to your WordPress website’s metadata so you can create granular integrations and customize them any way you choose. The best part? It’s all wrapped up in a user-friendly interface!
- Save money: If you’re processing hundreds or thousands of orders through your Woo store, automations can get pricey. Unless you’re using Automator which won’t charge you any per automation fees! Collect as much custom checkout field data as you want and save money in the process!
- Make flexible automations: Powerful Automator features such as filters and post/user loops allows you to target specific individual users or entire groups of them.
- Connect to more to do more: With 214 integrations (and more always on the way), Automator can help you do more with your custom checkout field data. Want to add this data to your CRM? How about updating order details in ClickUp or Airtable? Automator can help you get it done.
Convinced yet? Get your Automator license so you can follow along >>>
Manage Custom Woo Fields with Automator
Now that you have Automator and the Checkout Field Editor plugin, you’re ready to take command of the final stage in your sales funnel!
In the next sections, we’ll show you how to create Automator recipes (i.e., combinations of triggers and actions) to access, retrieve and store your checkout field data.
In the first walkthrough, we’ll show you how easy it is to send your custom WooCommerce checkout field data to Google Sheets. Then we’ll show you how to sync the data with a CRM such as Groundhogg, ActiveCampaign or HubSpot.
Finally, we’ll show you how to use filters to turn your checkout page into the most dynamic part of your sales funnel.
Let’s get to it!
Send WooCommerce Checkout Field Data to Google Sheets
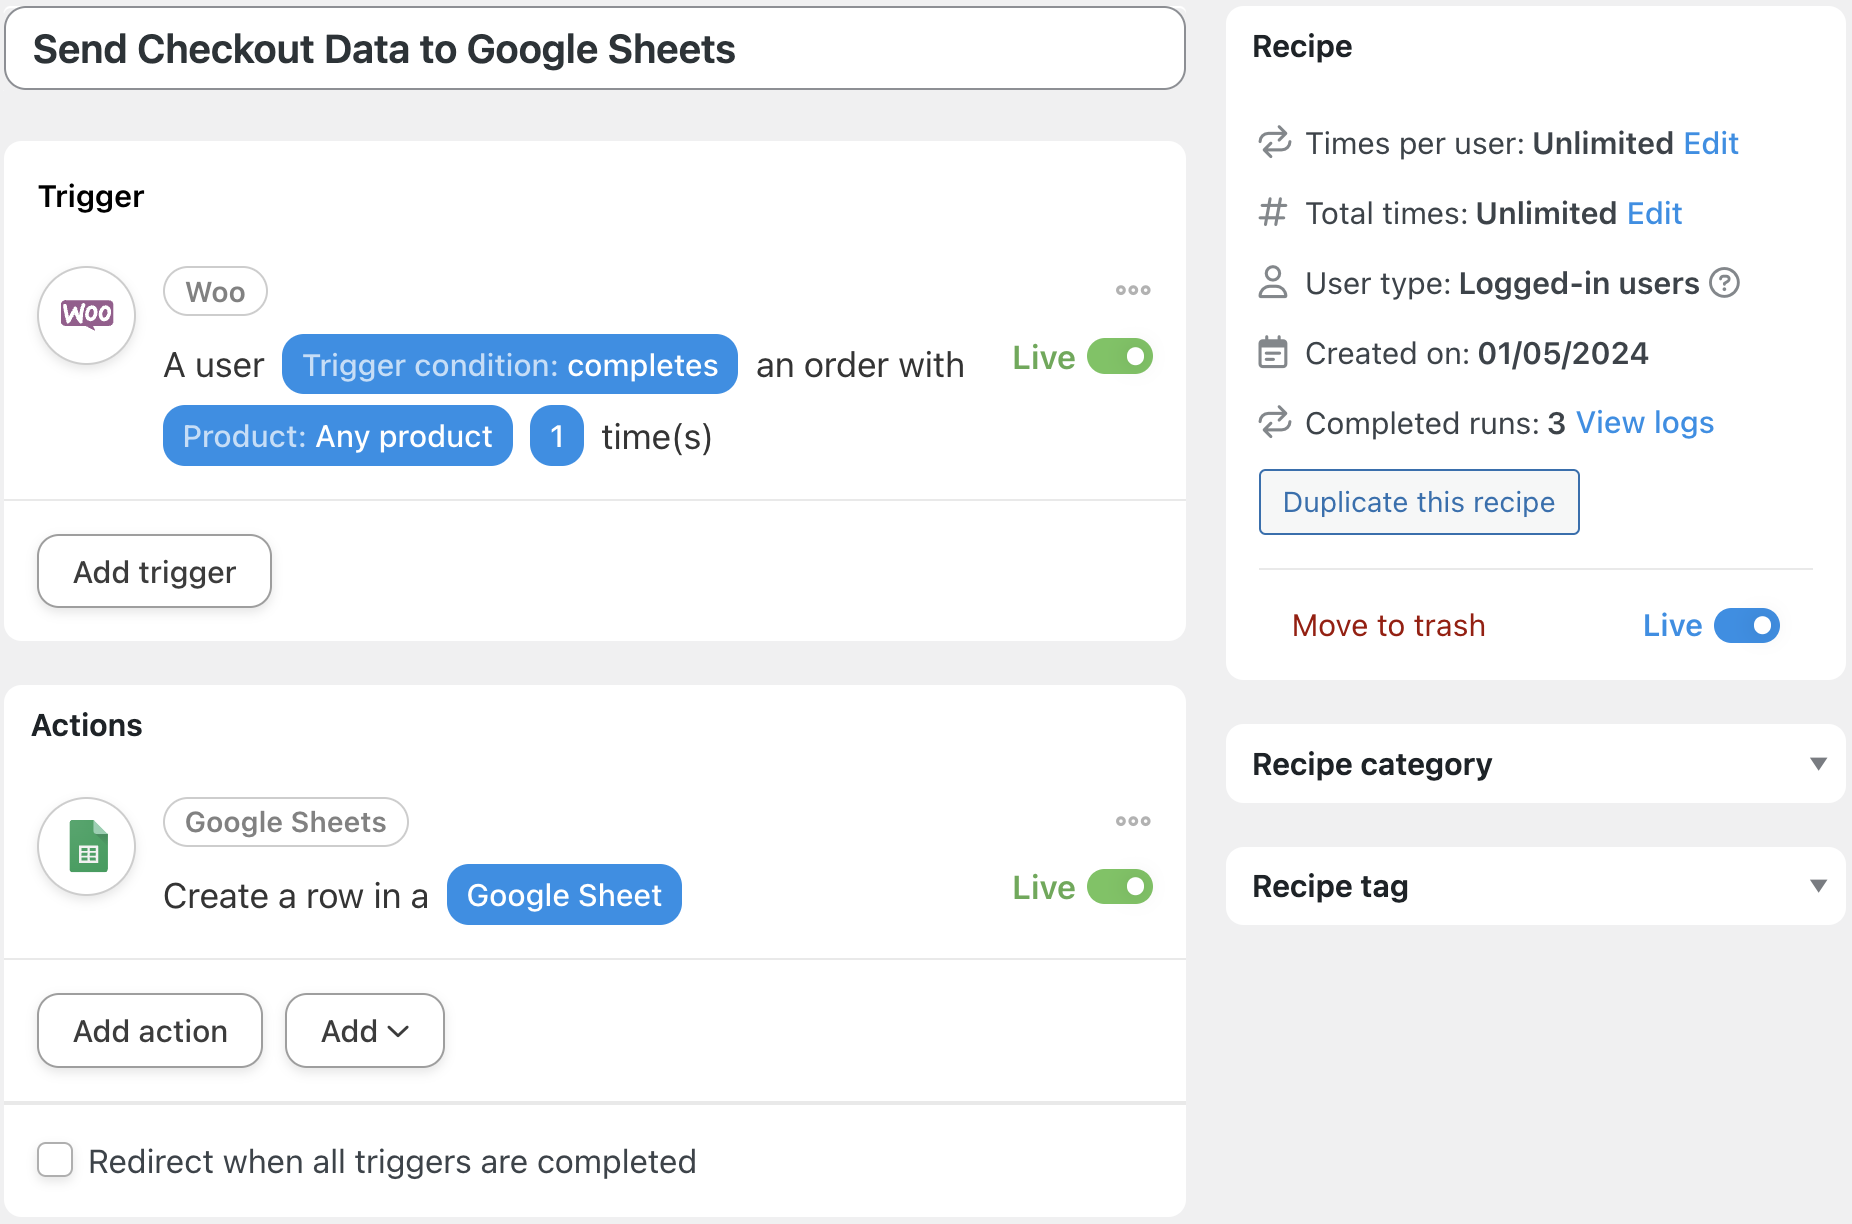
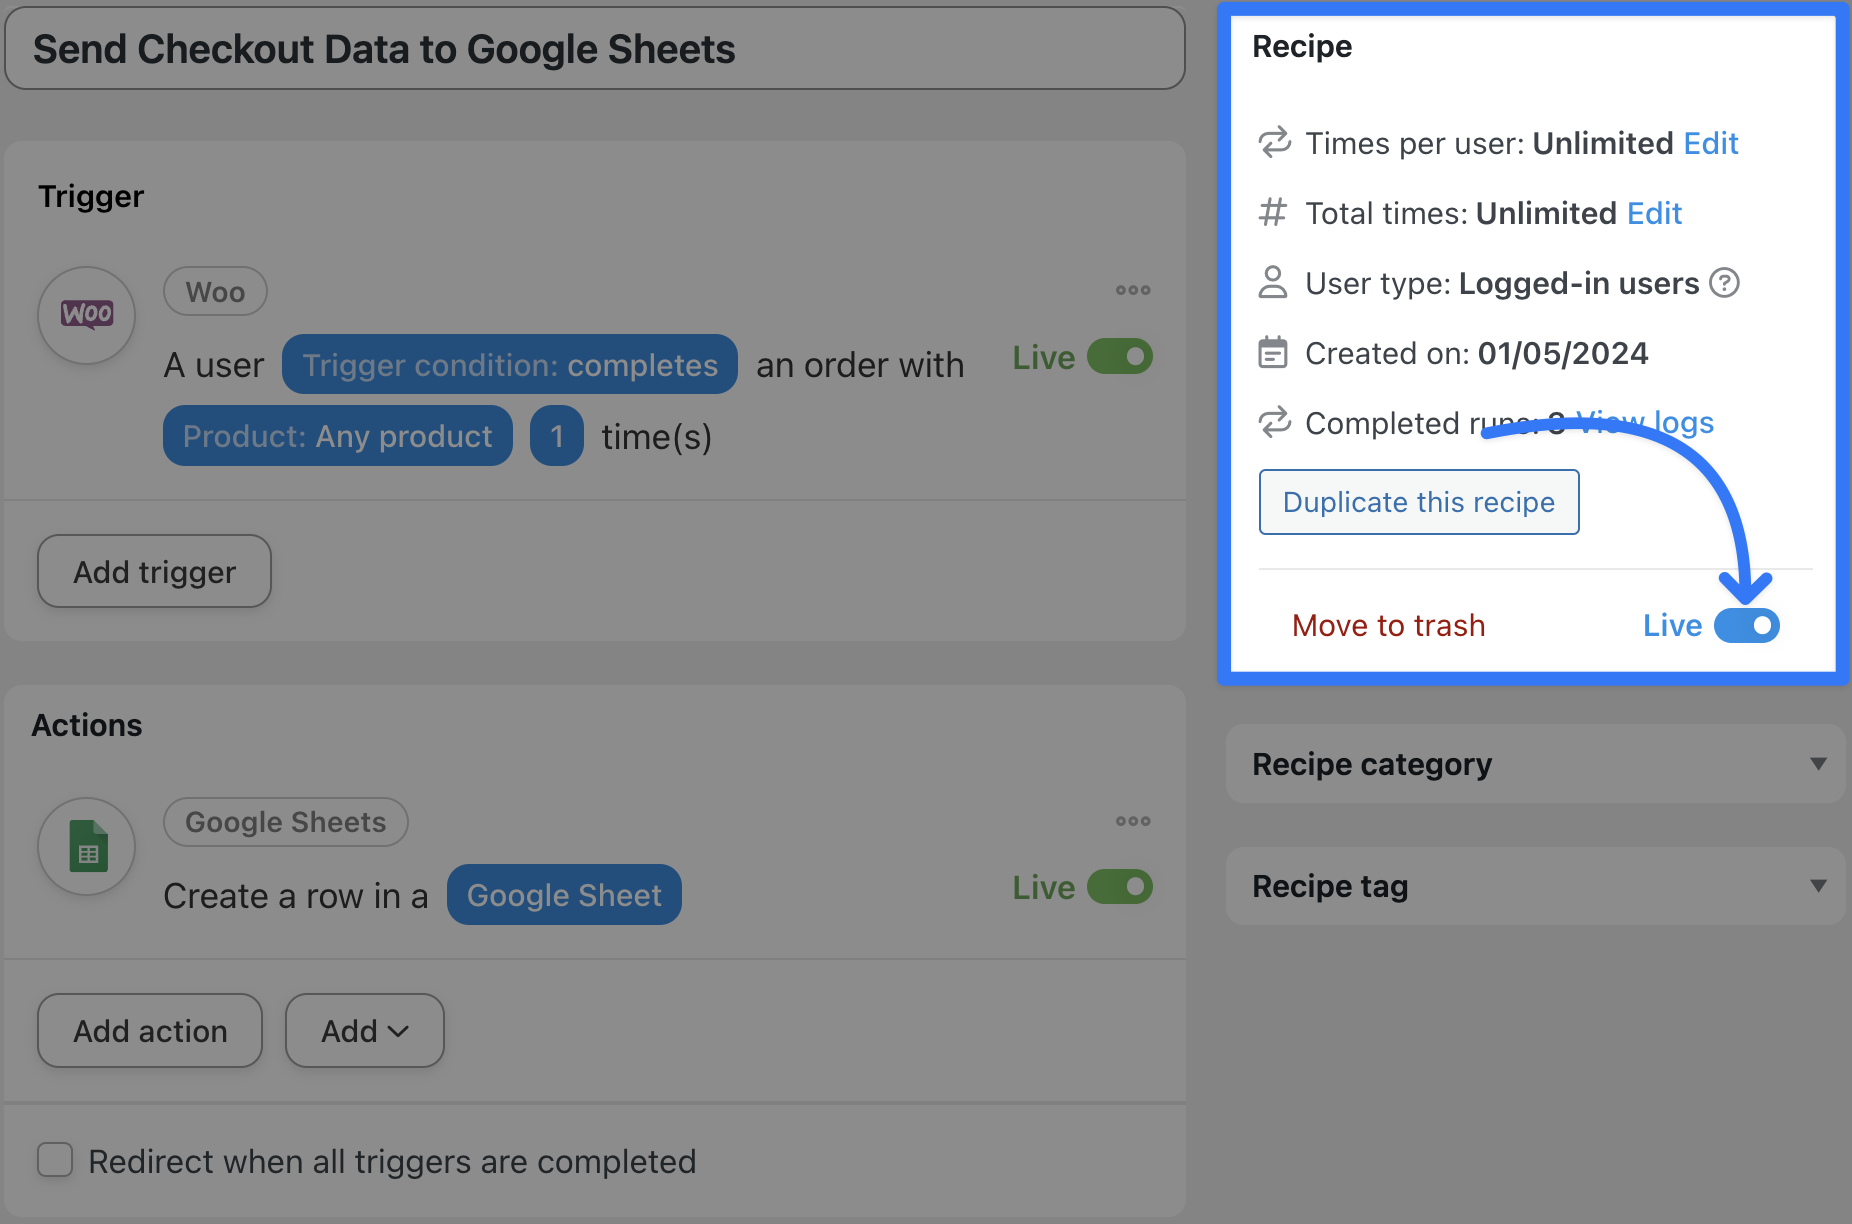
When it comes to managing your custom Woo checkout field data, there’s just one word you need to keep in mind: metadata. In the next five steps, we’ll show you how to access this metadata with Automator as in the recipe pictured below.
Step 1: Create a New Recipe
From your WordPress Admin Dashboard, navigate to Automator > Add new recipe. In the pop-up window that appears, select Logged-in users.

Step 2: Name Your Recipe
Give your recipe a name that makes it easy to recognize at a glance. For example, we’ve named this recipe “Send Checkout Data to Google Sheets”.
Step 3: Configure Your Trigger(s)
In the Trigger panel, from the menu of available integrations, select Woo.

From the dropdown list that appears, select A user completes, pays for, lands on a than you page for an order with a product.

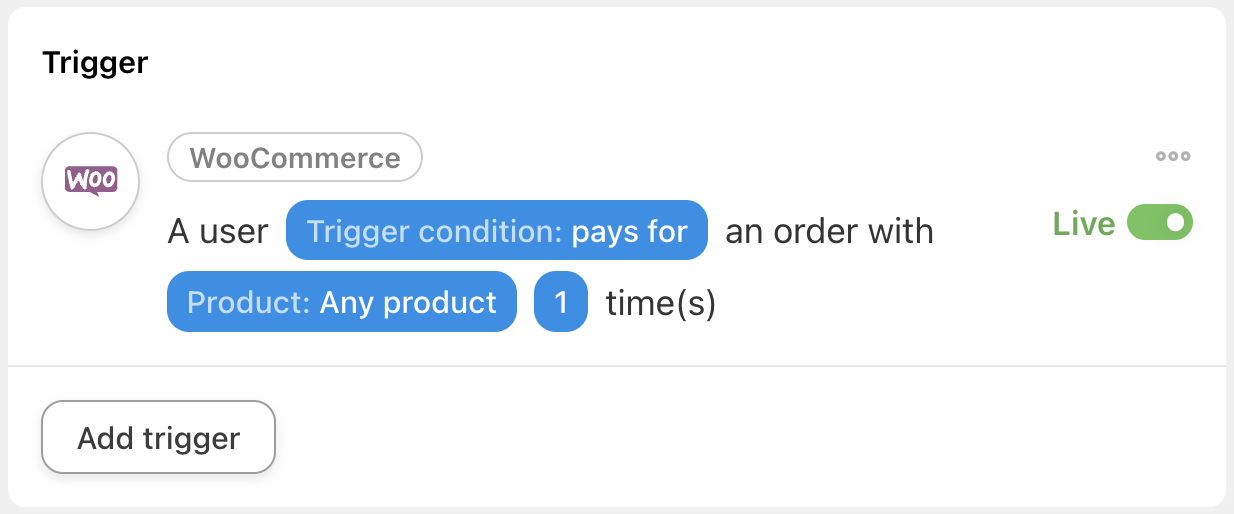
Automator will then prompt you to select a Trigger condition and Product. For example, we have selected pays for and Any product but you can choose the condition and product that best suits your workflows.
When you’re finished, click Save. Your completed trigger should look something like this:
Step 4: Configure Your Action(s)
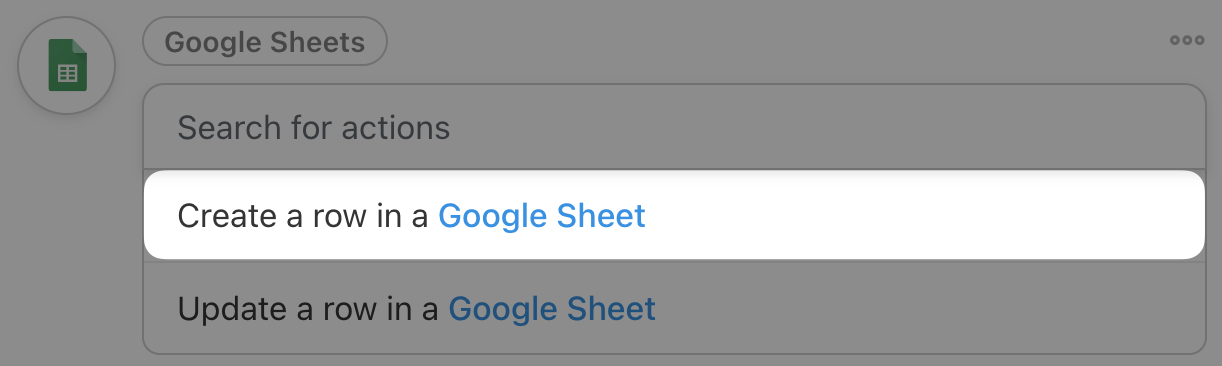
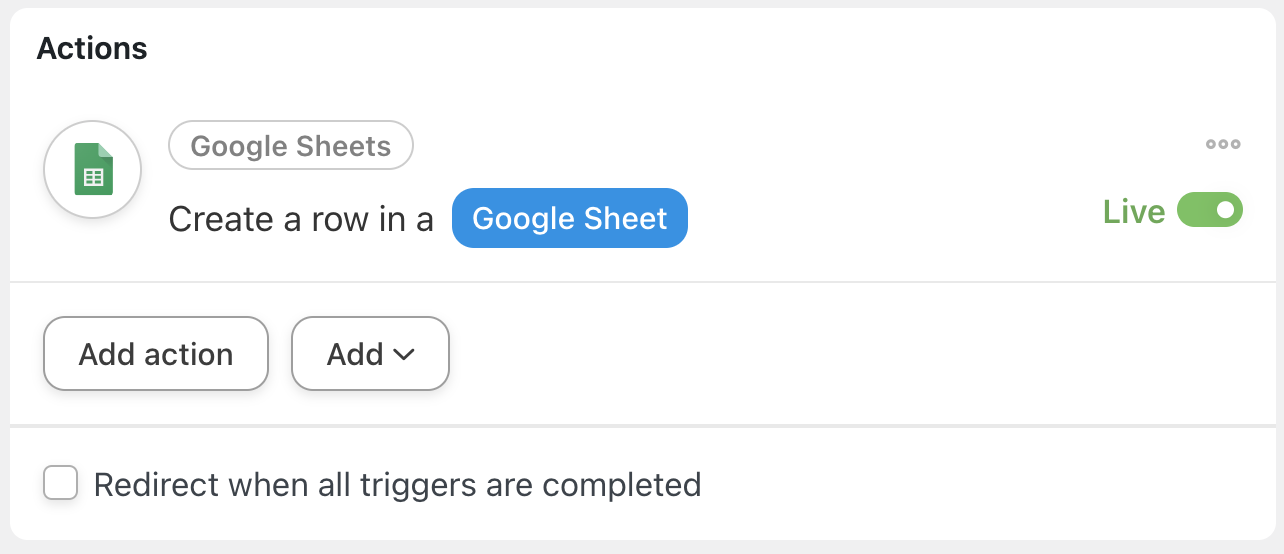
In the Actions panel, click Add action and select Google Sheets from the menu of available integrations.

From the dropdown list that appears, select Create a row in a Google Sheet.
Automator will prompt you to select the Drive, Spreadsheet and specific Worksheet where you would like to store your custom checkout field data.
Once you’ve selected the Drive, Spreadsheet and Worksheet, click Get columns. Automator will return the first value in each populated column (presumably the column title) in the Column field.
Now, we can fill out the Value fields using tokens (dynamic data pulled from your WordPress website and from within recipes) that correspond to each Column. To select a token, click the Asterisk in each field.
Select the token that represents the value that corresponds to the column. (Tip: You can use the search function to locate tokens quickly.)
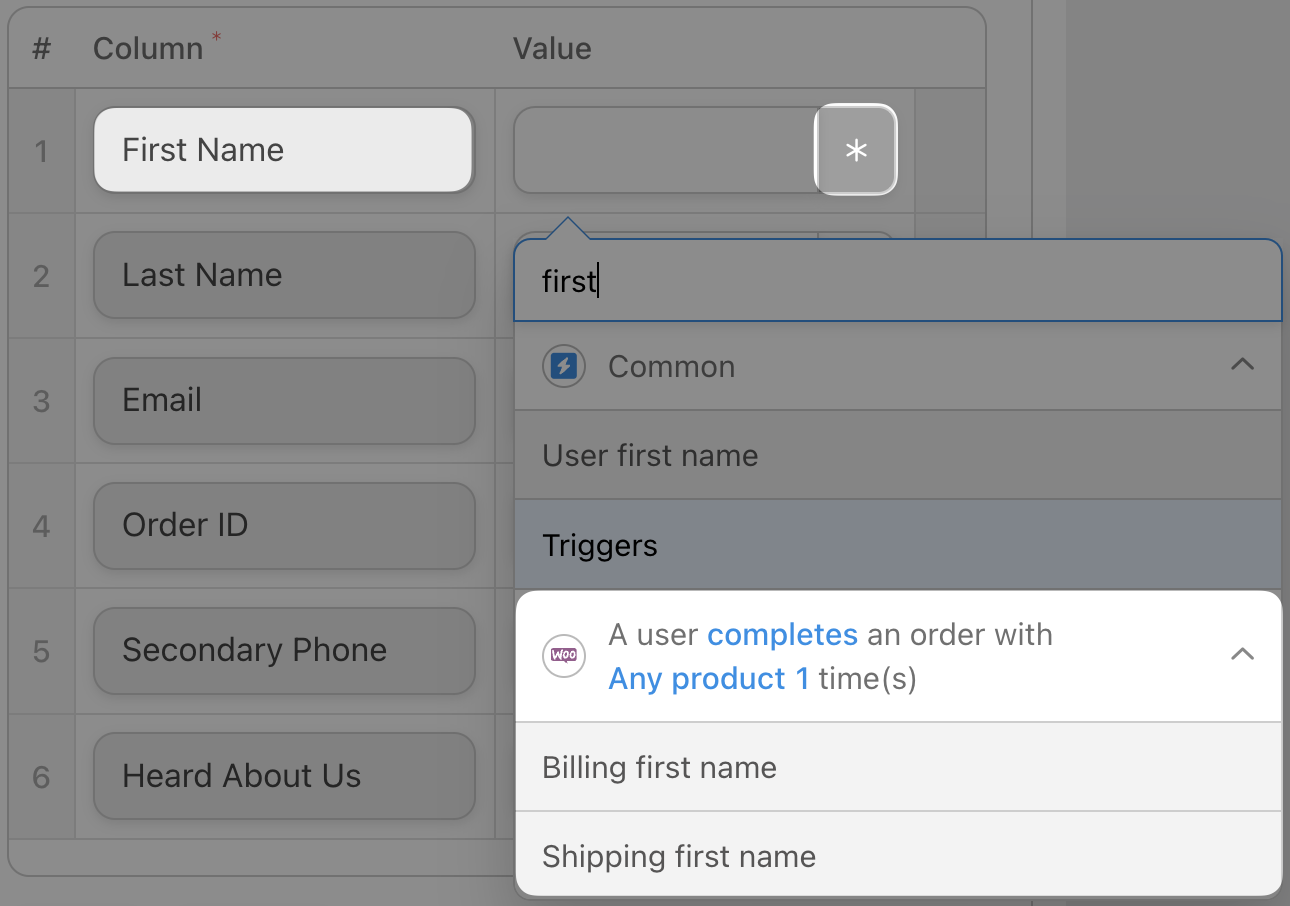
Automator already has standard, pre-configured tokens for common Woo checkout fields. For custom checkout fields, however, you get to configure your own token!
To configure a token for your custom Woo checkout field, click the Asterisk and select Advanced > Post meta.
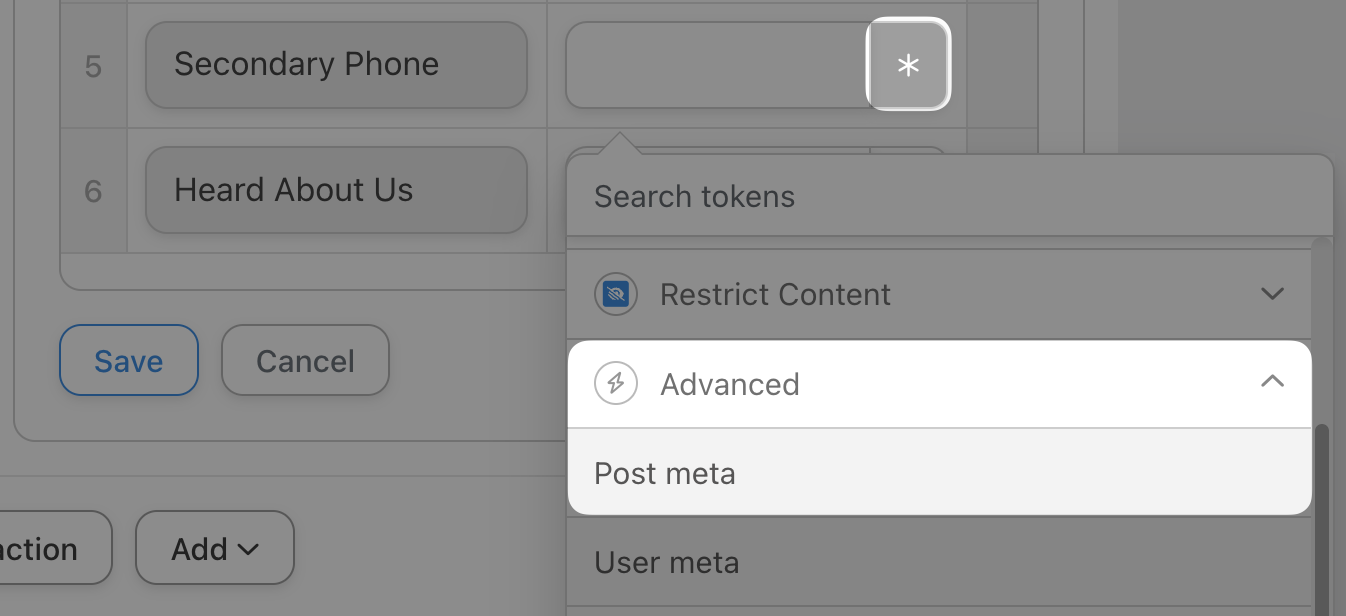
A pop-up window will appear where you can enter the token data.
Start by clicking the Asterisk in the Post ID field and selecting the Order ID. (You may need to deselect the Only integer option.)
Next, in the Meta key field, enter the name of the custom checkout field you are trying to retrieve.Once you’re finished, click Add token.

Finish filling out the remaining standard and custom fields. Once you’re done, click Save.
Your completed action should look like this:
Step 5: Go Live!
You’re just about ready to start sending your custom checkout field data to Google Sheets. All that’s left for you to do is toggle the recipe from Draft to Live.
That’s it! Now that you’ve gotten the hang of configuring your own tokens to retrieve custom checkout fields, let’s take a look at what else you can do with this data.
Sync Custom WooCommerce Checkout Fields to Your CRM
One of the most common custom checkout fields that businesses have is the “How Did You Hear About Us?” field. It’s an incredibly valuable piece of information that Woo businesses use to track their marketing strategy and segment their audience.

With Automator, you can easily take valuable data from your Woo checkout fields and incorporate it directly into your CRM, as in the recipe pictured above.
Steps 1-3: Repeat from Previous Recipe
Repeat the steps from the previous recipe, creating a new recipe, naming it and configuring your WooCommerce trigger.
Step 4: Configure Your Action(s)
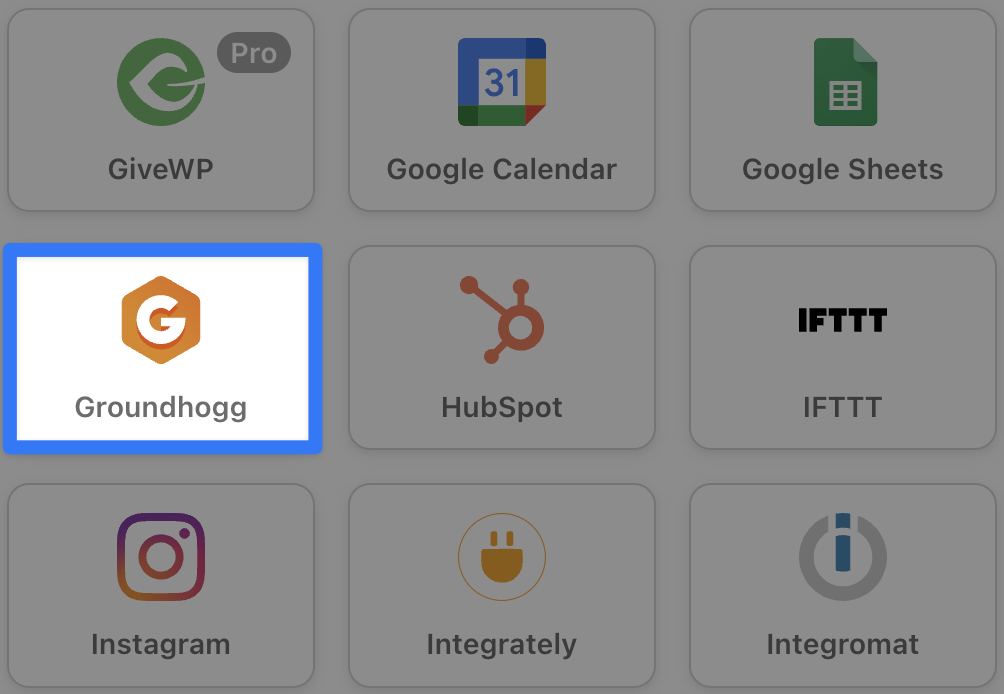
In the Actions panel, from the menu of available integrations, select Groundhogg or your preferred CRM. (We selected Groundhogg because it is the CRM that most easily allows us to dynamically create tags.)
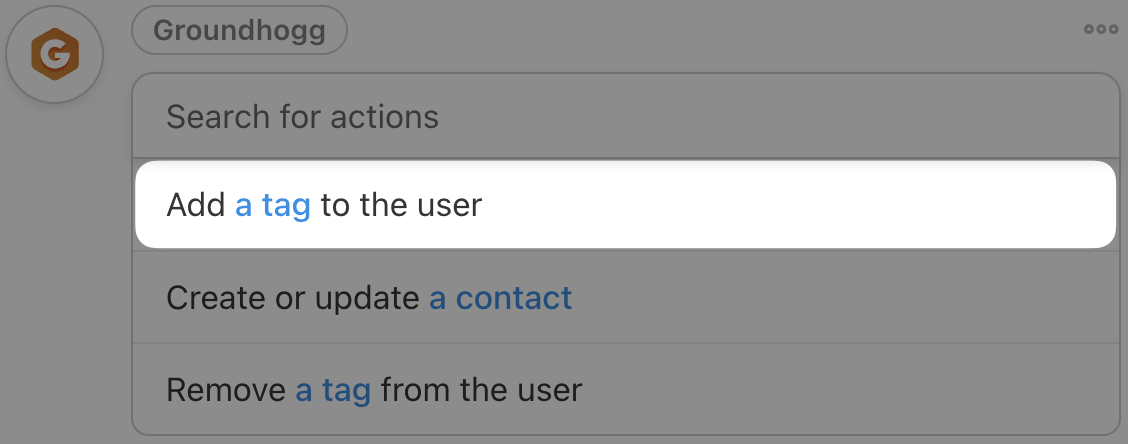
From the dropdown list appears, select Add a tag to the user.
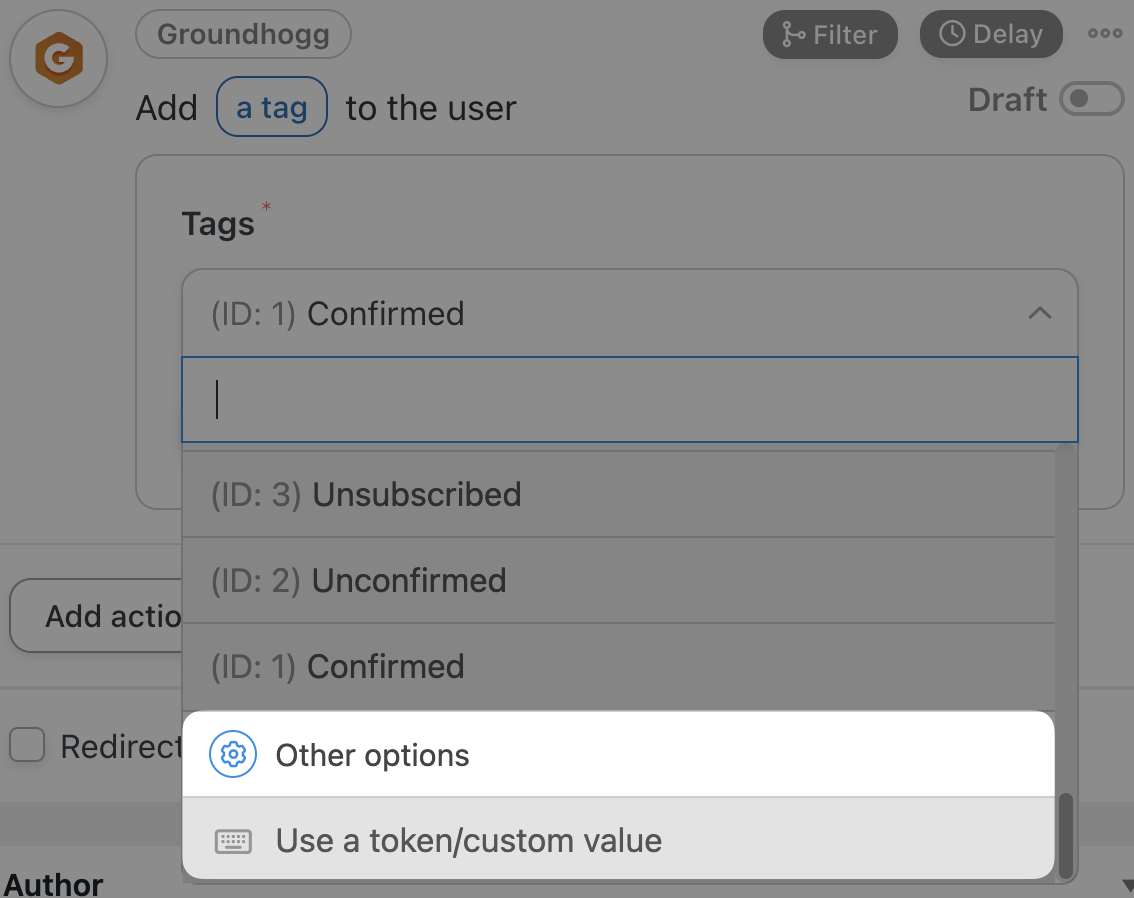
Automator will prompt you to select the tag. Once again, we’re going to configure a token to represent the tag we want to add. To use a token in this field, select Use a token/custom value.
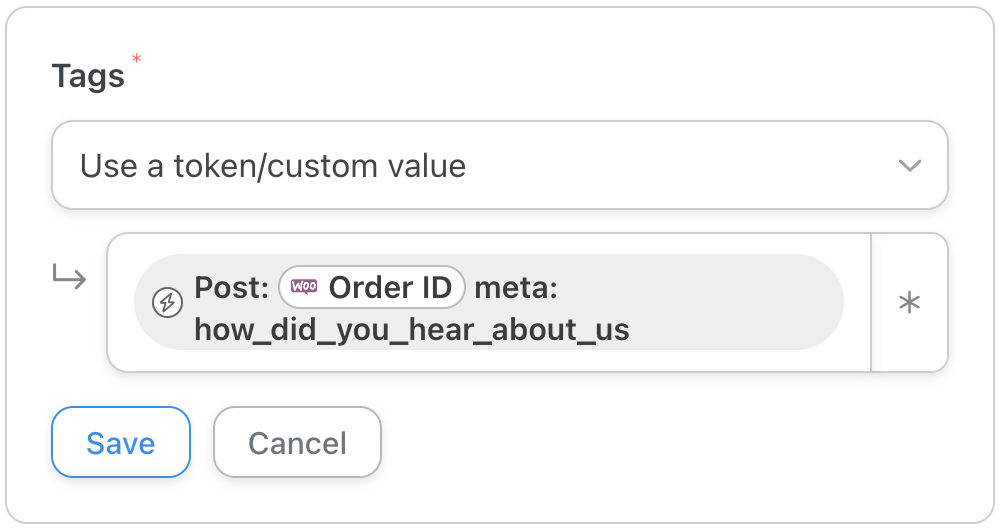
Configure the token as before: click on the Asterisk, select Advanced > Post meta, select the Order ID token in the Post ID field, enter the name of the checkout field in the Meta key field and click Save.
When you’re finished, the tag should look something like this:
Click Save.
Step 5: Sync Your Custom Fields!
Before you toggle the recipe from Draft to Live, you may want to set the number of times that this recipe will run for each user. After all, you wouldn’t want to add unnecessary tags to your customers.
To limit the number of times the recipe can run per run, simply click Edit next to Times per user in the recipe box. Enter a value and click Save.

Using your custom checkout fields like this can help you make the most of the final stage in the sales process. But you can still up your marketing automation game using Automator’s filters feature.
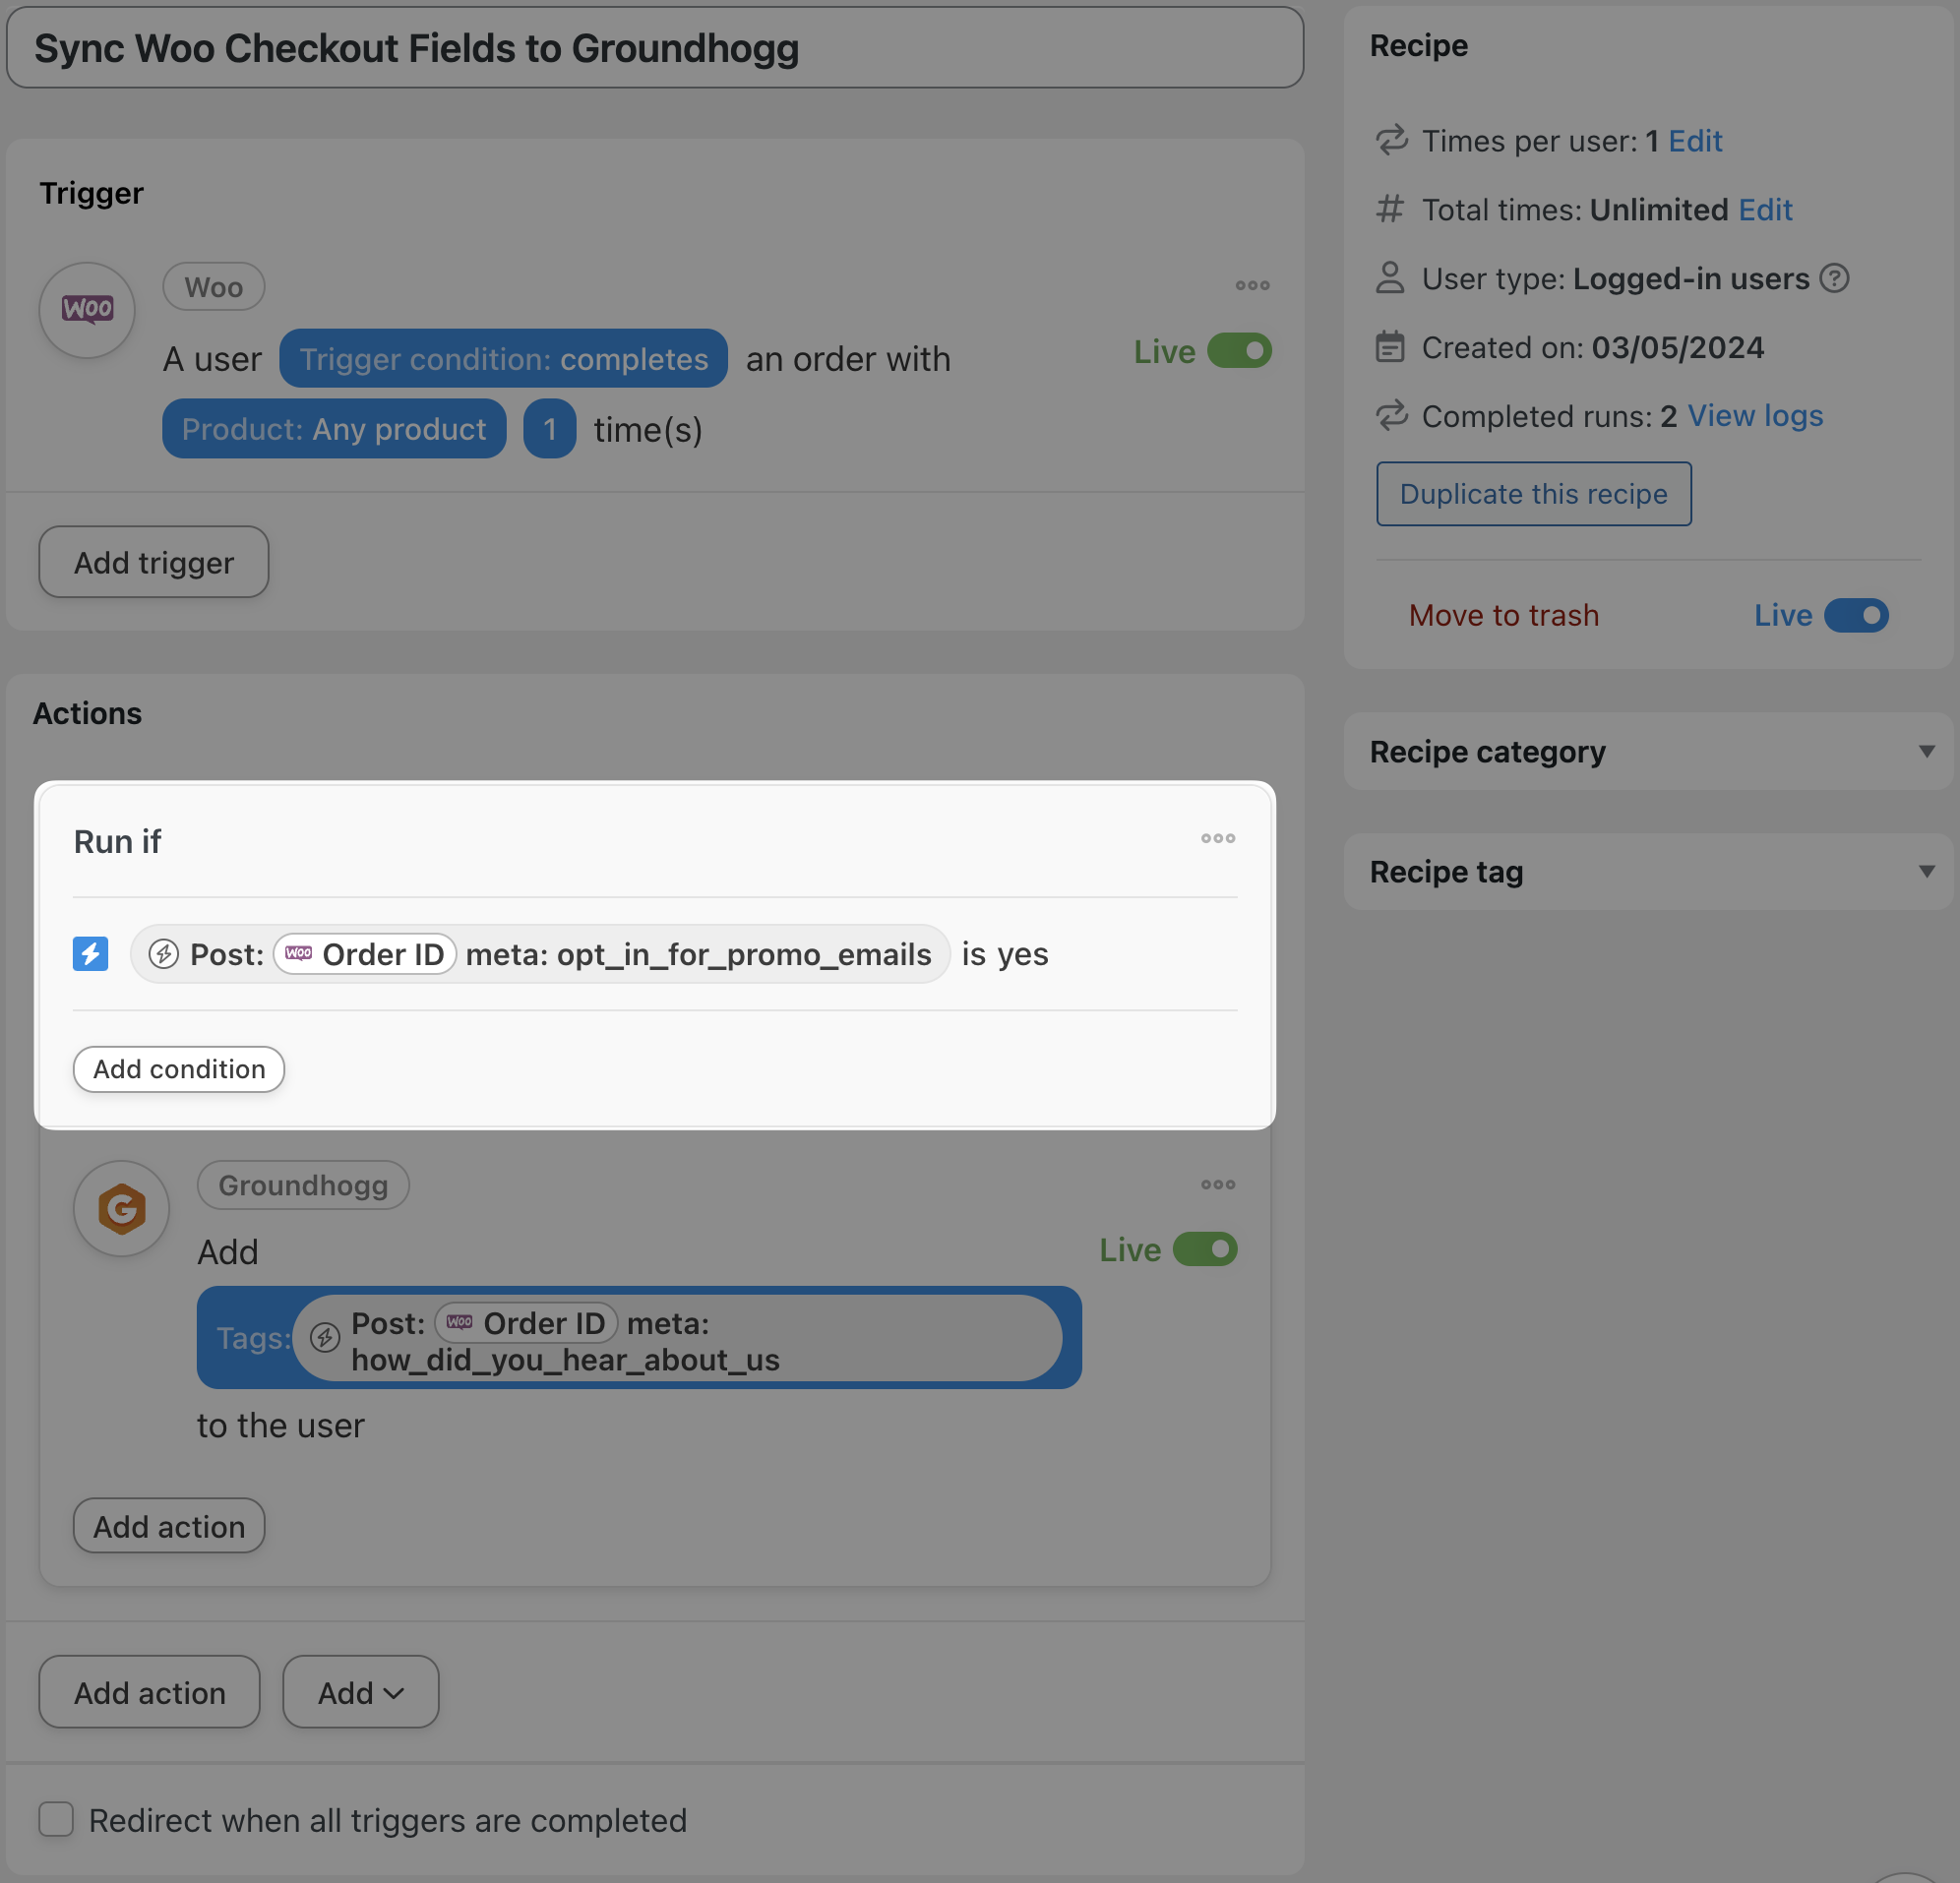
We added a filter to the recipe that we just created together that incorporated another one of our custom WooCommerce checkout fields. With this filter, we’re able to only tag the users at checkout who opted in to receive promotional emails in another custom field.
The customizations are endless!
Frequently Asked Questions
Conclusion
In this walkthrough, we showed you how simple it is to use Automator tokens to manage your custom WooCommerce checkout fields.
Whether you simply want to store the checkout field data in Google Sheets, use it to improve your email marketing automation workflows or more, Automator is the tool you’ve been looking for.
What are some of the ways that you want to use custom checkout field data? How can we make it easier for you? Drop us a line in the comments section below and we’ll get back to you.
Until then, happy automating!

Related Posts


This Post Has 0 Comments