With Uncanny Automator, connecting your WordPress site to ActiveCampaign has never been easier. Automatically enroll users in courses and groups or perform actions on your users when tags are added to your contacts in ActiveCampaign.
If you have the free version of Uncanny Automator, you’ll first need to connect your site with a free Uncanny Automator account, which will give you 250 free credits to use with ActiveCampaign. If you have Uncanny Automator Pro, simply activate your Pro license key to get unlimited usage of the ActiveCampaign integration.
Enabling ActiveCampaign triggers
To use ActiveCampaign triggers, follow these steps:
1. Complete the steps in this article to enable the ActiveCampaign integration.
2. From your WordPress Admin Dashboard, navigate to Automator > Settings > ActiveCampaign and toggle Enable triggers to the “on” position:

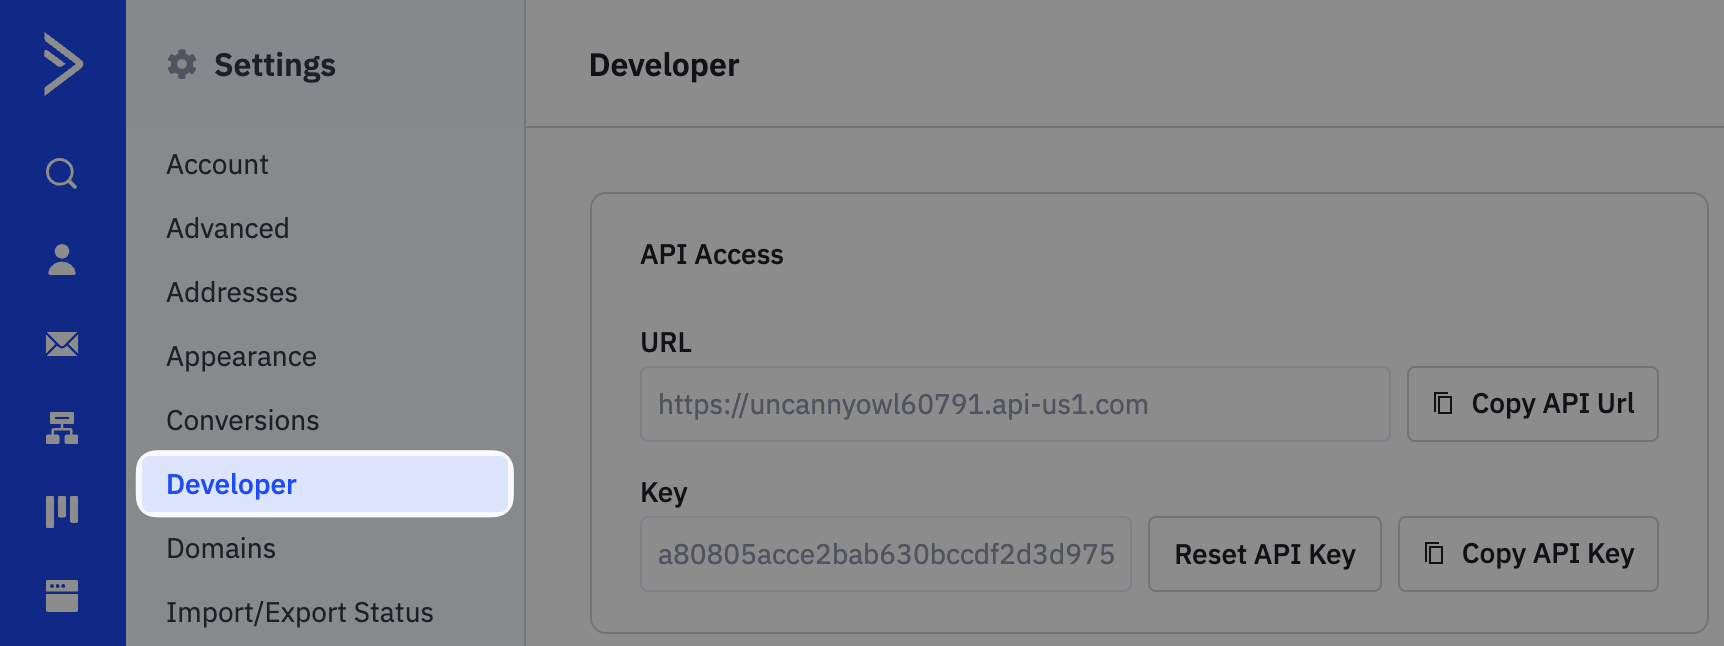
3. Log in to your ActiveCampaign account and navigate to Settings > Developer.
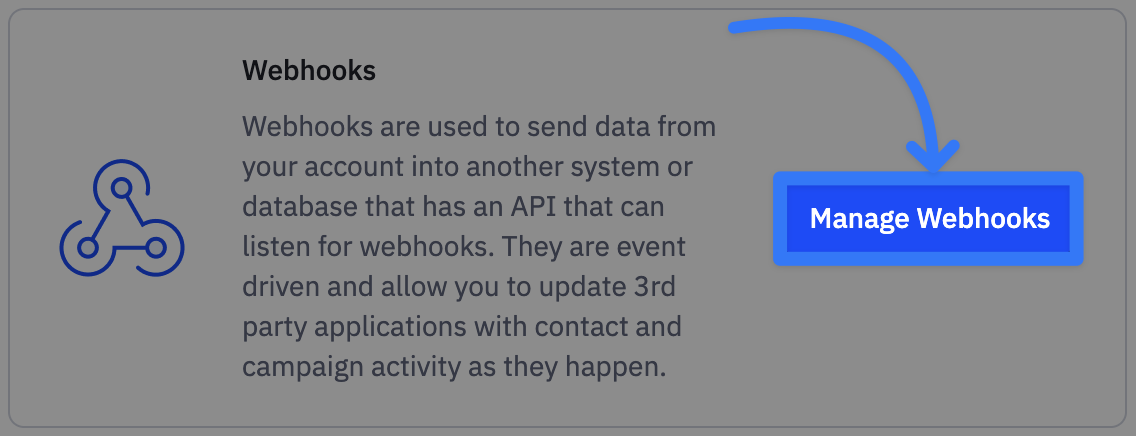
4. Click Manage Webhooks.
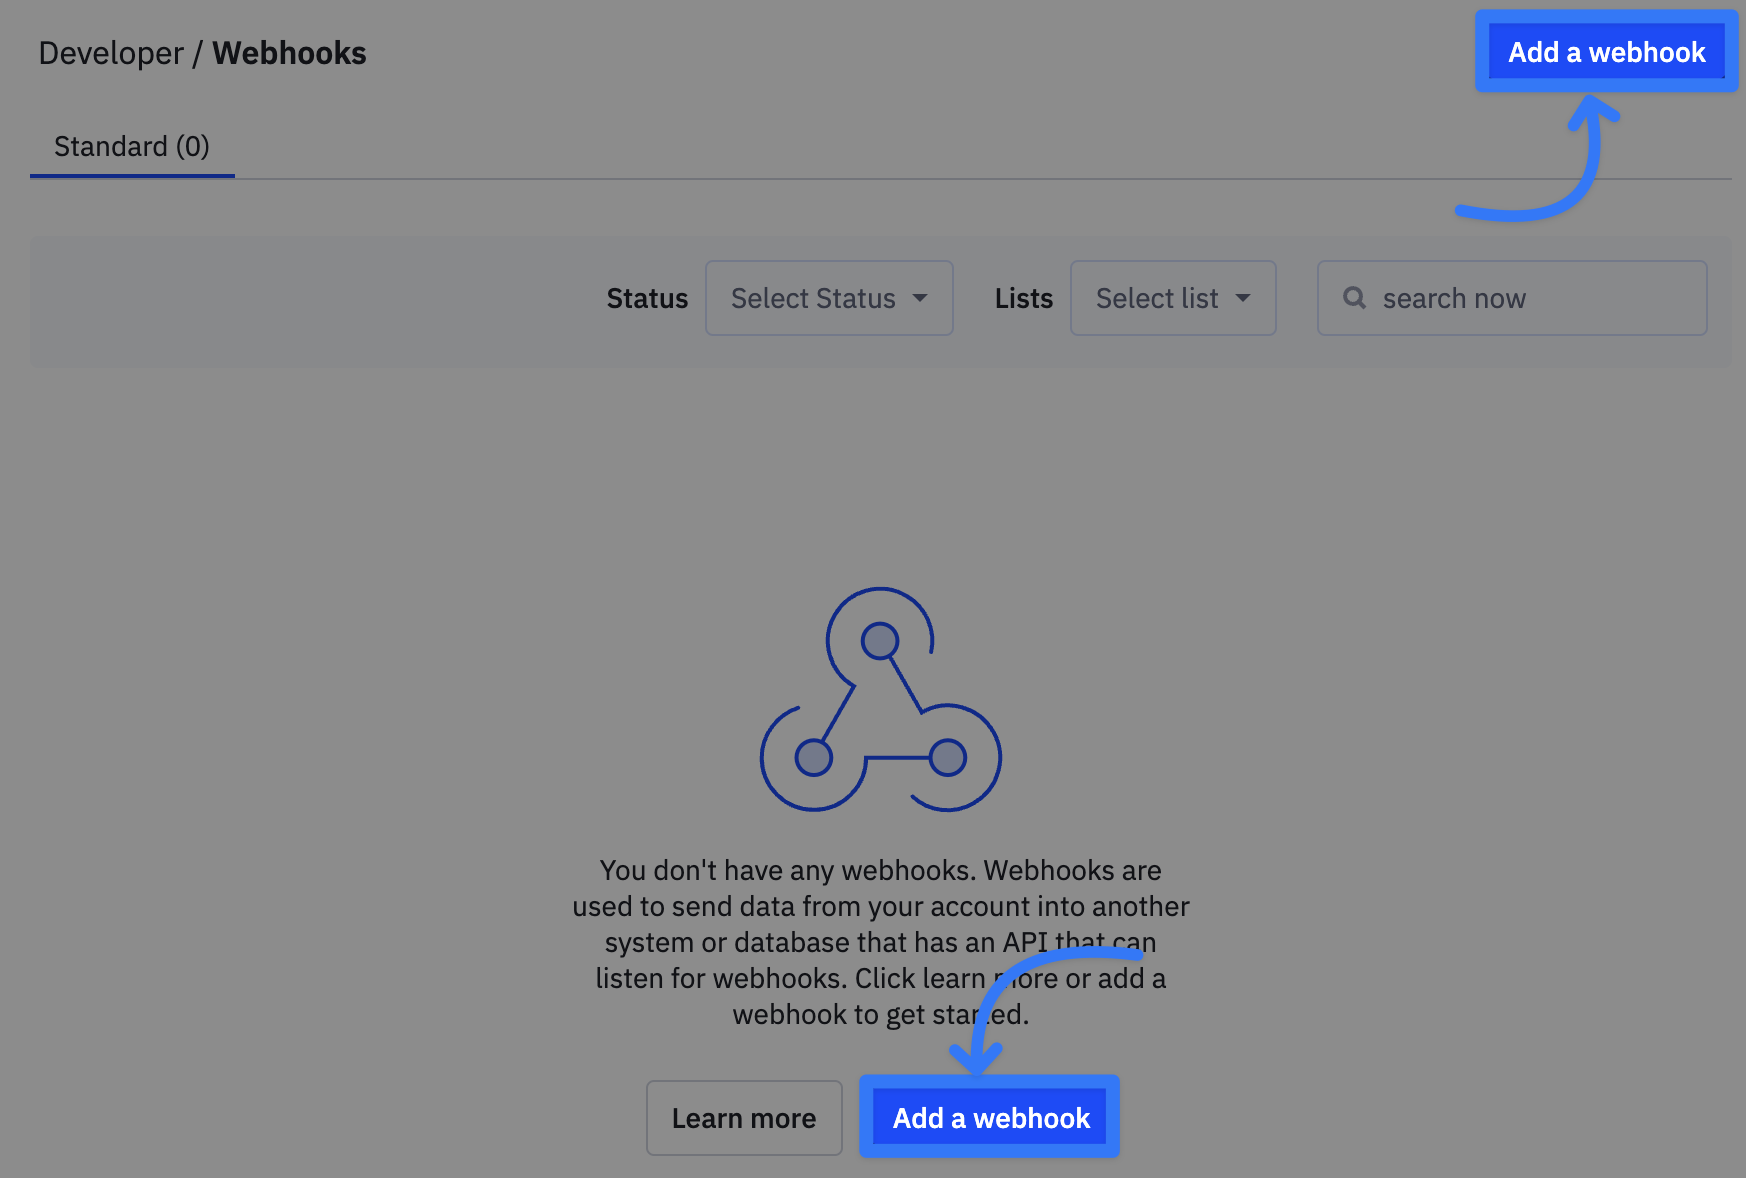
5. Click Add a webhook.
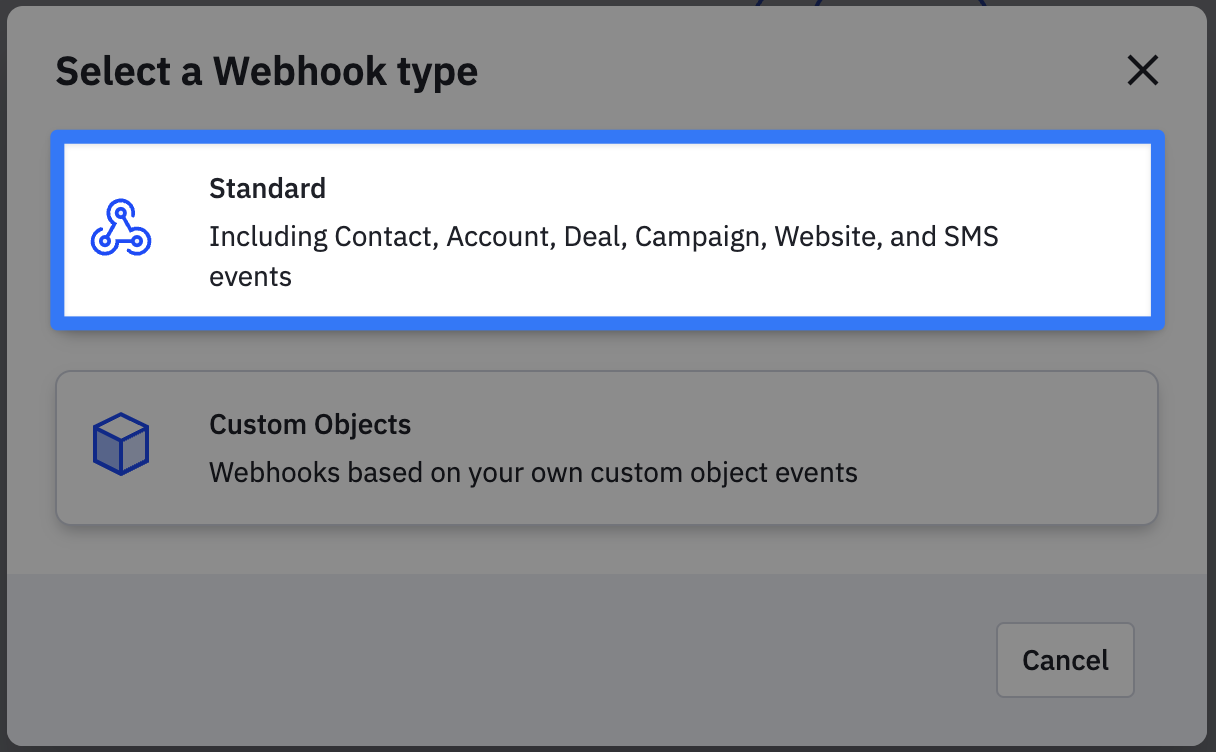
6. Select the webhook type. In most cases, a Standard webhook is sufficient.
7. Return to your Automator window, copy the Webhook URL and paste it into the URL field in your ActiveCampaign window. You will also have to name your webhook (for example, “Automator”).

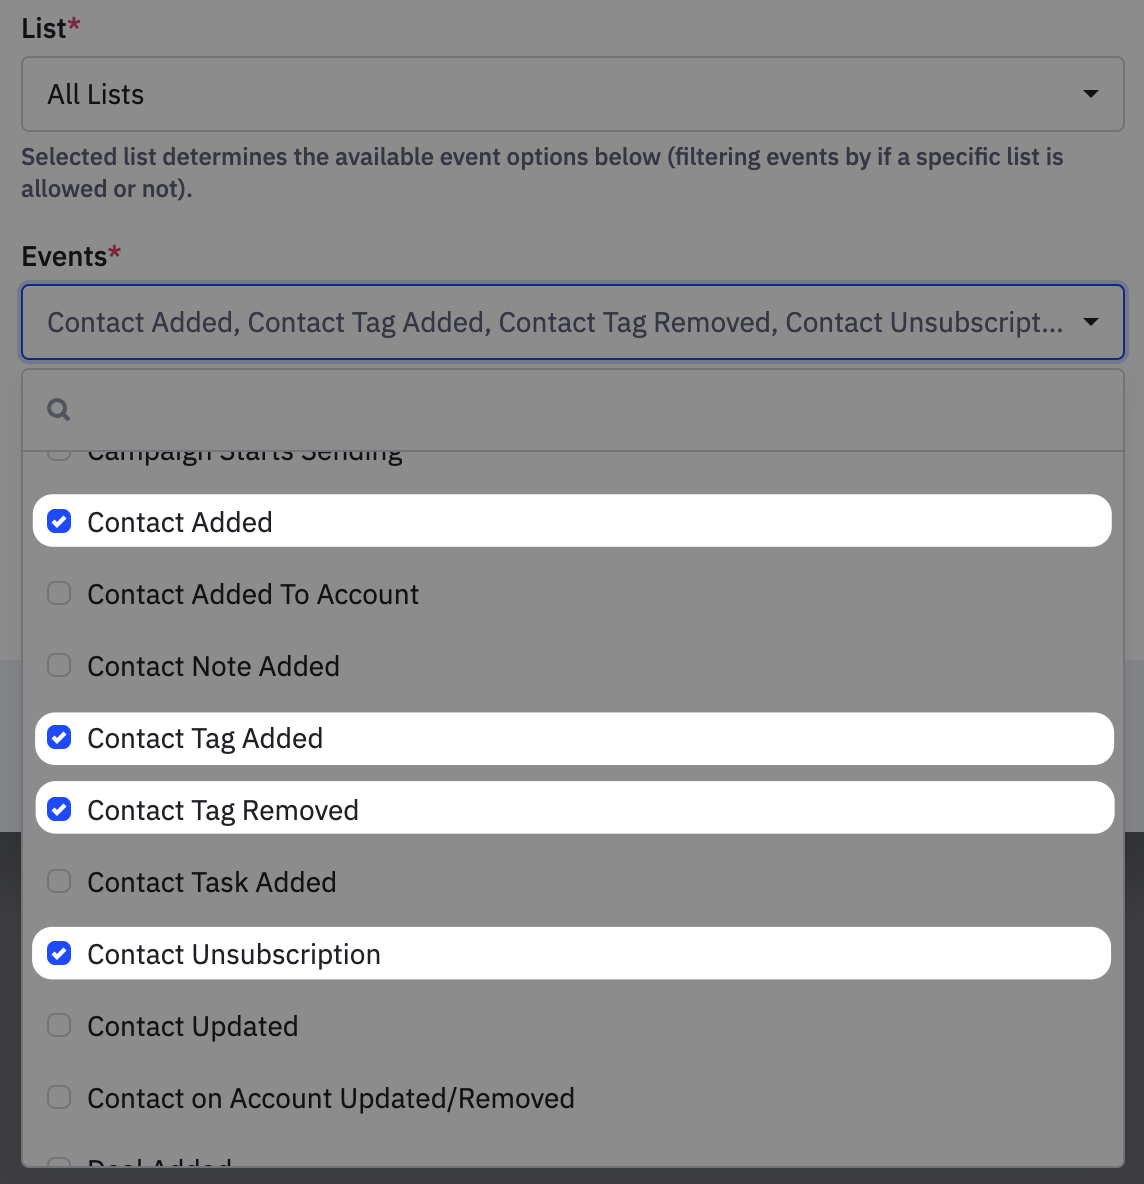
8. Select the lists you wish to have connected through this webhook. By default, all All Lists will be selected.
9. In the Events field, select the actions in ActiveCampaign that you would like to have trigger the webhook. For example; Contact Added, Contact Tag Added, Contact Tag Removed and Contact Unsubscription. (Note: Automator does not support all of these triggers but may in the future.)
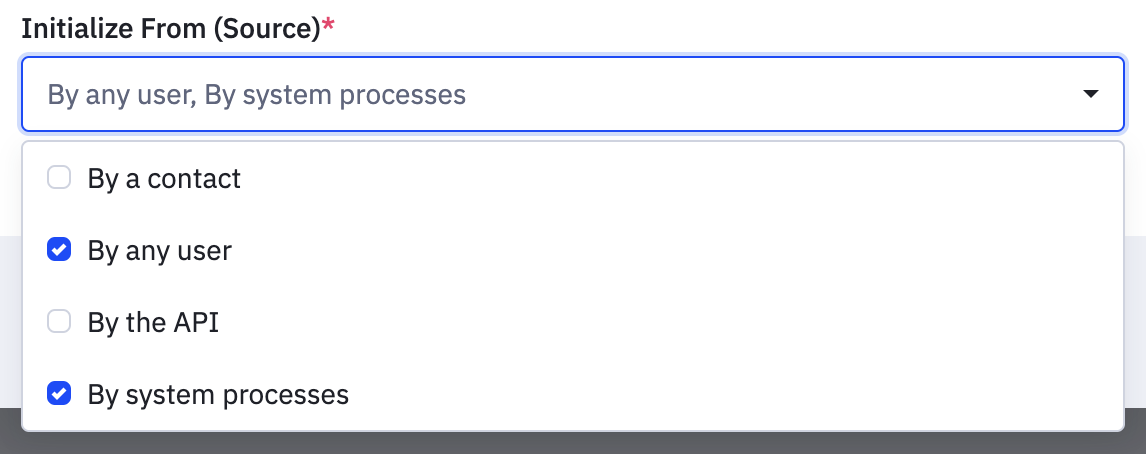
10. Select the Source. In most cases, By any user and/or By system processes will be sufficient.
11. Click Save.
12. Return to your Automator window and click Save settings.
You will now see triggers for ActiveCampaign when creating an Everyone recipe.
Using ActiveCampaign triggers
To run actions on WordPress users when a tag is added to a contact in ActiveCampaign, choose one of the available triggers:

Then choose the action that you want to perform on the user when the tag is added.
Automator will prompt you to map the incoming data from ActiveCampaign to an existing WordPress user on your site. Use the instructions in this article to do that.
That’s it! Now you can automatically update your users when you add or remove tags from their contacts in ActiveCampaign.


