Revive old WordPress posts with AI and Uncanny Automator. Learn how to reverse content decay…
How to Use AI Writing Tools in WordPress: Generate Blog Posts, Images, and Social Content Automatically
From content creation, to image generation, and SEO best practices, Automator is the only AI writing tool for WordPress that you’ll ever need.
TLDR? Get the highlights:
Combining AI with Uncanny Automator helps you generate better WordPress content faster. With Automator and your preferred AI platform, I’ll show you how to:
- automate creating blog posts,
- generate AI images in an instant,
- optimize your SEO with AI insights,
- auto-post your WordPress content to social media, and
- keep your content fresh.
All without ever having to leave your WordPress dashboard.
I’ve been writing WordPress content for… well, longer than I care to admit. But here’s my secret: I don’t do it alone.
Like many content creators today, I use AI writing tools for WordPress to speed up my workflow, polish my prose, and generate everything from blog posts and product descriptions to alt text, images, and social content—automatically.
In this post, I’ll show you how to leverage AI inside WordPress to write faster and better content without ever leaving your dashboard.
Ready to see how far a little automation (and a little AI) can take your creativity? Let’s dive in.
Uncanny Automator: The Only AI Writing Tool You’ll Need
Ever since OpenAI’s ChatGPT emerged from its digital cocoon in November 2022, AI writing tools have multiplied faster than a recursive function call without a base case… In other words, very quickly.
If you’ve spent any amount of time looking at the different AI plugins for WordPress or exploring AI features in existing plugins, you’re probably a little dizzy from all of the 0s and 1s.Looking for a good roundup of AI writing assistants? Check out this hands-on comparison article from WPBeginner.
“AI tools for WordPress integrate different AI models into your WordPress site to help you generate high-quality content faster.”
Each AI content tool has its own set of features. Some are only good for writing product descriptions. Others are best when generating long-form blog content. Still, other AI plugins are narrowly focused on creating page copy.
But there is one tool that does it all, from content ideation to production and publication: Uncanny Automator.

You may already know Uncanny Automator as the #1 automation and integration tool for WordPress websites. But, in case you didn’t, the concept is pretty simple: it’s like Zapier for WordPress… only cheaper!
Using simple combinations of triggers and actions, you can automate complex workflows that connect all of your favorite apps and plugins.
So, what exactly can you do with Automator and AI?
Like any other AI writing tool, Automator can help you generate copy for your blog posts, landing pages, email campaigns, social media platforms, product descriptions, and more. But what makes Automator stand out from the rest is that the AI features don’t end there.
In addition to text generation, Automator’s AI integrations allows you to:
- connect your WordPress site to your favorite AI model (OpenAI’s GPT, Perplexity, xAI’s Grok, Anthropic’s Claude, and many more),
- generate images that upload directly into your WordPress media library,
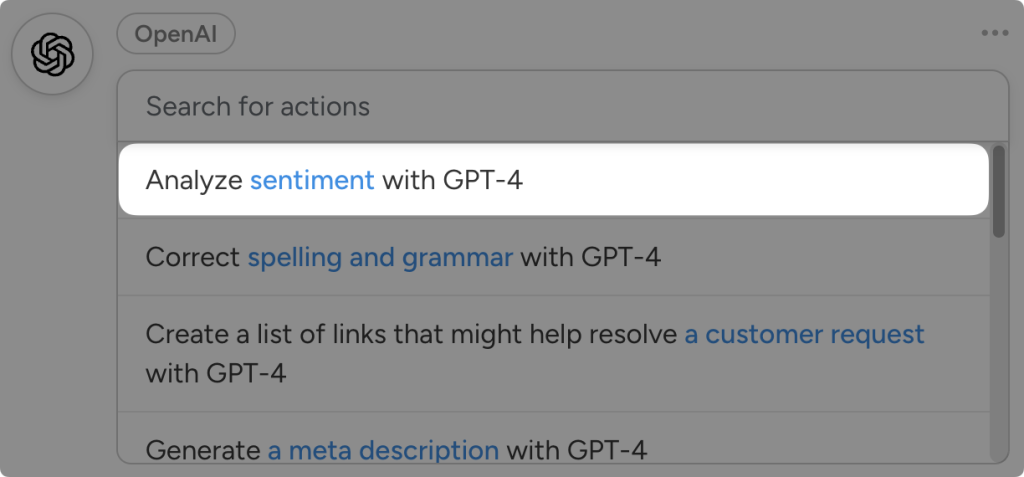
- perform sentiment analysis on support tickets, reviews, comments, and more,
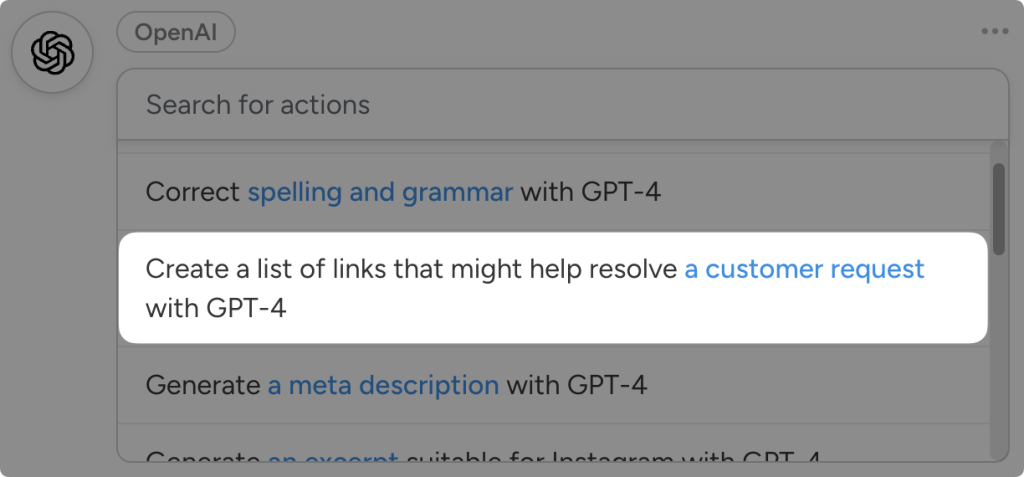
- streamline customer support with a set of useful hyperlinks,
- translate incoming or outgoing text,
- automate social media posting,
- reverse content decay,
- and lots more!
In this article, I’m going to show you how to perform just some of those tasks with Automator and your preferred AI platform.
Ready to get the best AI tool for WordPress? Your Automator Pro license is just a click away>>>.
Not sure if you’re ready for all that AI power? You can still install and activate Automator Lite for FREE (forever). Don’t forget to register your account to receive a limited number of app credits to use with your preferred AI model. This way, you can test out Automator’s awesome AI features before ever having to reach for your wallet!
How to Write a Blog Post With AI in WordPress
Once you have Automator installed and activated on your WordPress site, you can start generating content with AI.
Step 1: Create a New Recipe
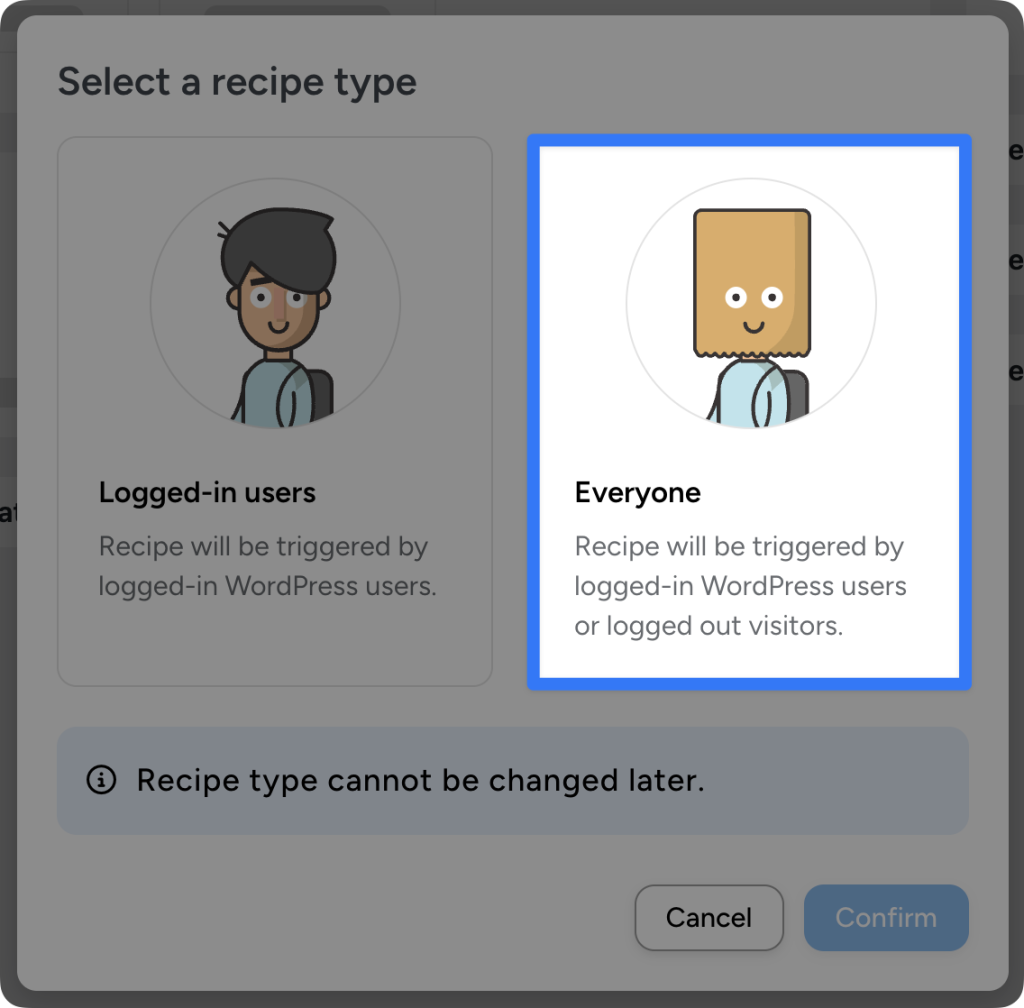
From your WordPress Admin Dashboard, navigate to Automator > Add new recipe. In the modal that appears, select Everyone.
Step 2: Name Your Recipe
Give your recipe a name that makes it easy to recognize at a glance. For example, we have named this recipe “Write a Blog Post with OpenAI”.
Step 3: Configure Your Trigger(s)
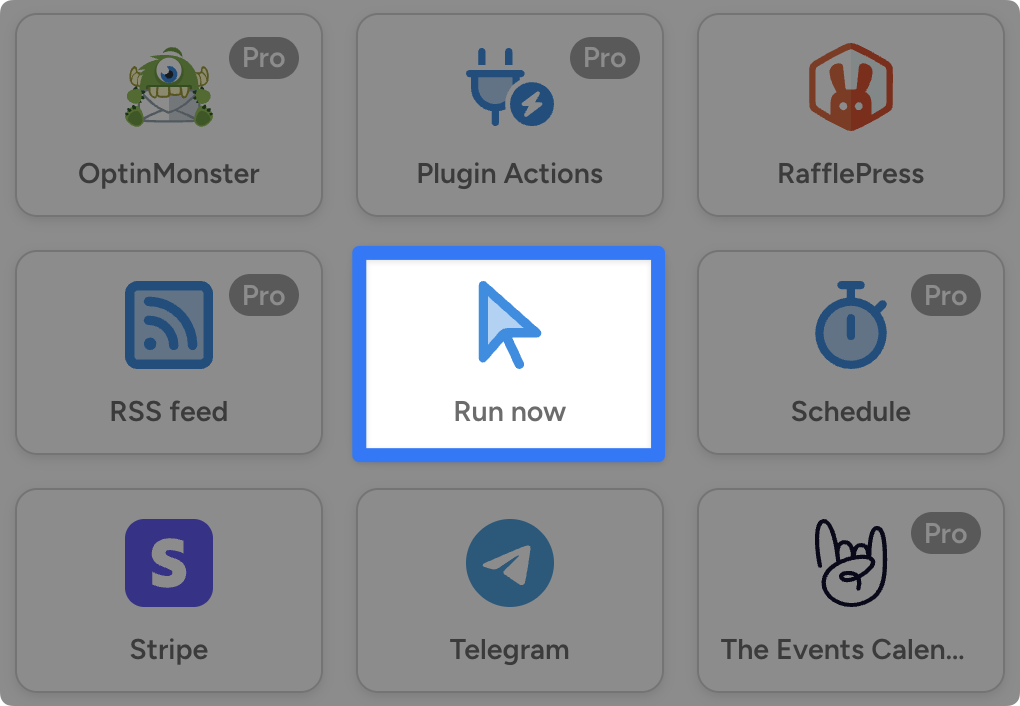
In the Trigger panel, from the menu of available integrations, select Run now.
From the dropdown list that appears, select “Trigger recipe manually“.
Step 4: Configure Your AI-Written Blog Post
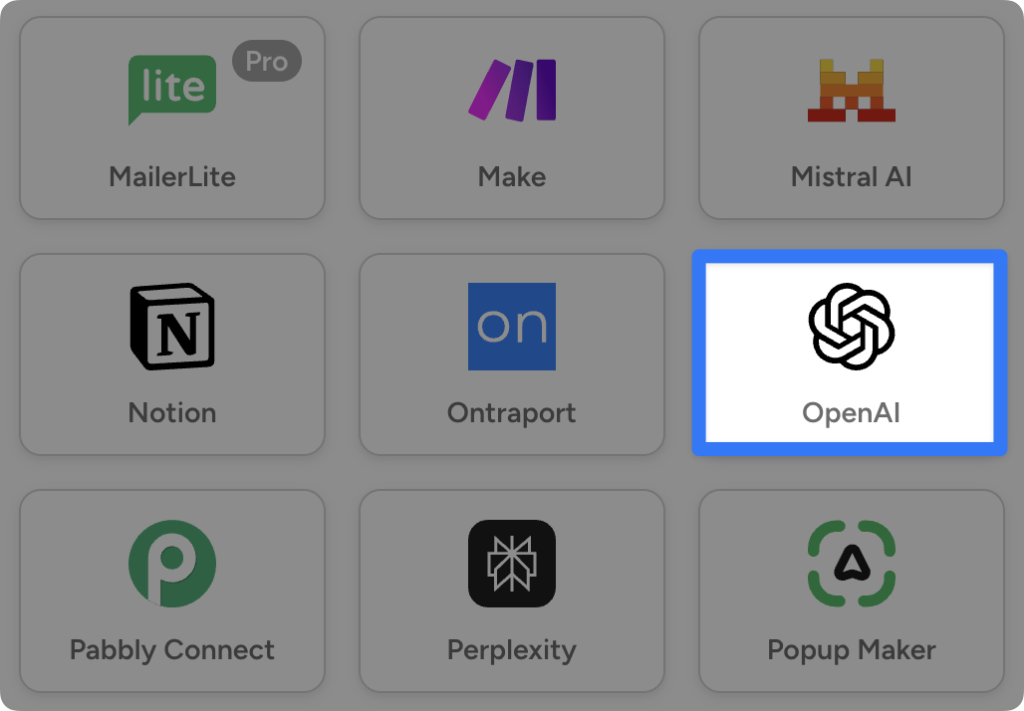
In the Actions panel, click Add action and select OpenAI.
(Note: If you haven’t already connected your preferred AI platform to your WordPress site, simply follow the instructions. Alternatively, you can find detailed instructions on how to connect AI platforms to WordPress here.)
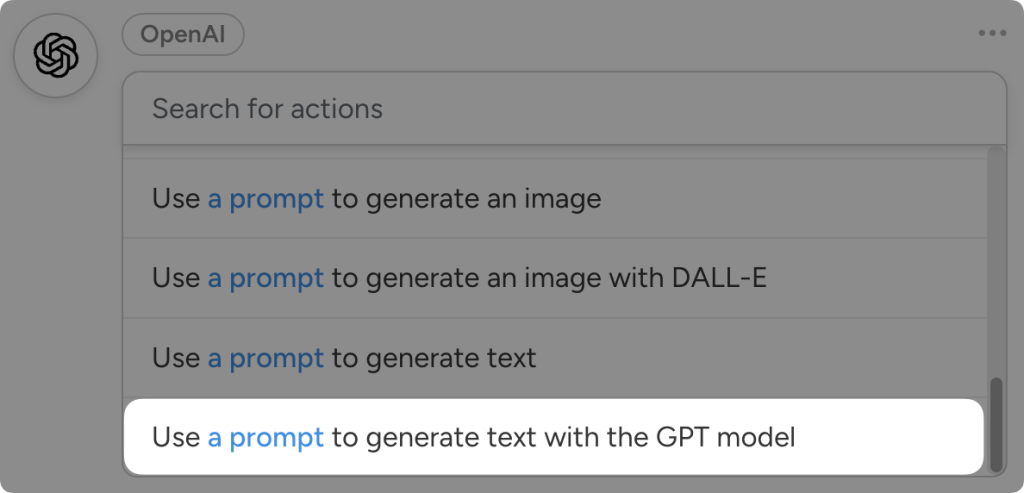
From the dropdown list that appears, select “Use a prompt to generate text with the GPT model“.
Automator will present you with a form where you can specify the prompt and parameters for the GPT’s response.
Just as you can inside the API Platform, you can select the Model, Temperature, Maximum length (in tokens) for your response.
- Model: Selects the version of AI you’re using, which can impact response quality and complexity.
- Temperature: Controls the creativity of the response—higher values produce more varied, creative outputs, while lower values are more straightforward and focused.
- Maximum length: Limits the length of the response; a higher number generates longer responses, while a lower number keeps it brief.
Configure a System message and Prompt.
Once you’re finished, click Save.
This prompt will generate the body of our new blog post. But we still need an eye-catching featured image, an irresistible title, an SEO-friendly excerpt, and some punchy copy to help our content go viral on social media.
So, let’s add a few actions to our Automator recipe.
How to Generate AI Images in WordPress
Step 5: Configure Your AI Image
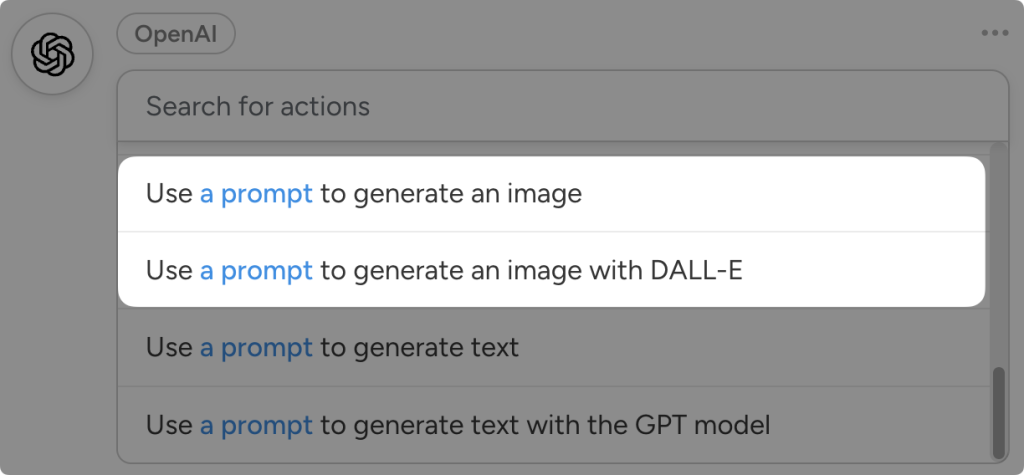
In the Actions panel, click Add action and select OpenAI. From the dropdown list that appears, select either “Use a prompt to generate an image” or “Use a prompt to generate an image with DALL-E“.
Automator will present you with a form where you can specify the Model and Size. For example, we have selected the model DALL-E 3 HD and the image size that best suits our layout and theme, 1792×1024.
Next, write a prompt that would generate a featured image that is in-keeping with your brand and the subject matter of your blog post.
Once you’re finished, click Save.
Want to know more about creating AI images in WordPress with Automator? Click here to read our guide or click the image below>>>.
AI-Powered SEO for WordPress (Titles, Excerpts, and More)
With the actions that we’ve configured so far, we have the body of our blog post and what is guaranteed to be an eye-popping image. Now we just need to put the finishing touches on our blog post with an SEO-friendly title and excerpt.
Step 6: Configure Your SEO Title
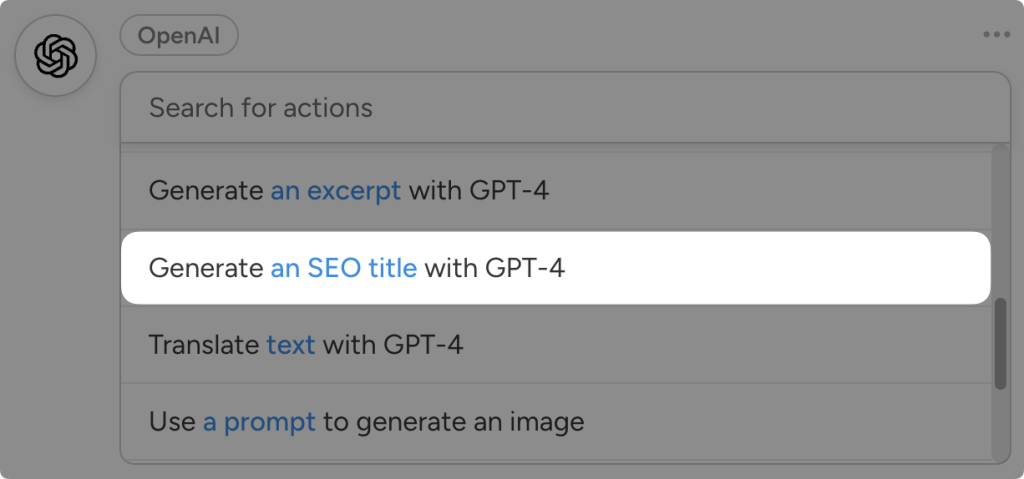
In the Actions panel, click Add action and select OpenAI. From the dropdown list that appears, select Generate an SEO title with GPT-4.
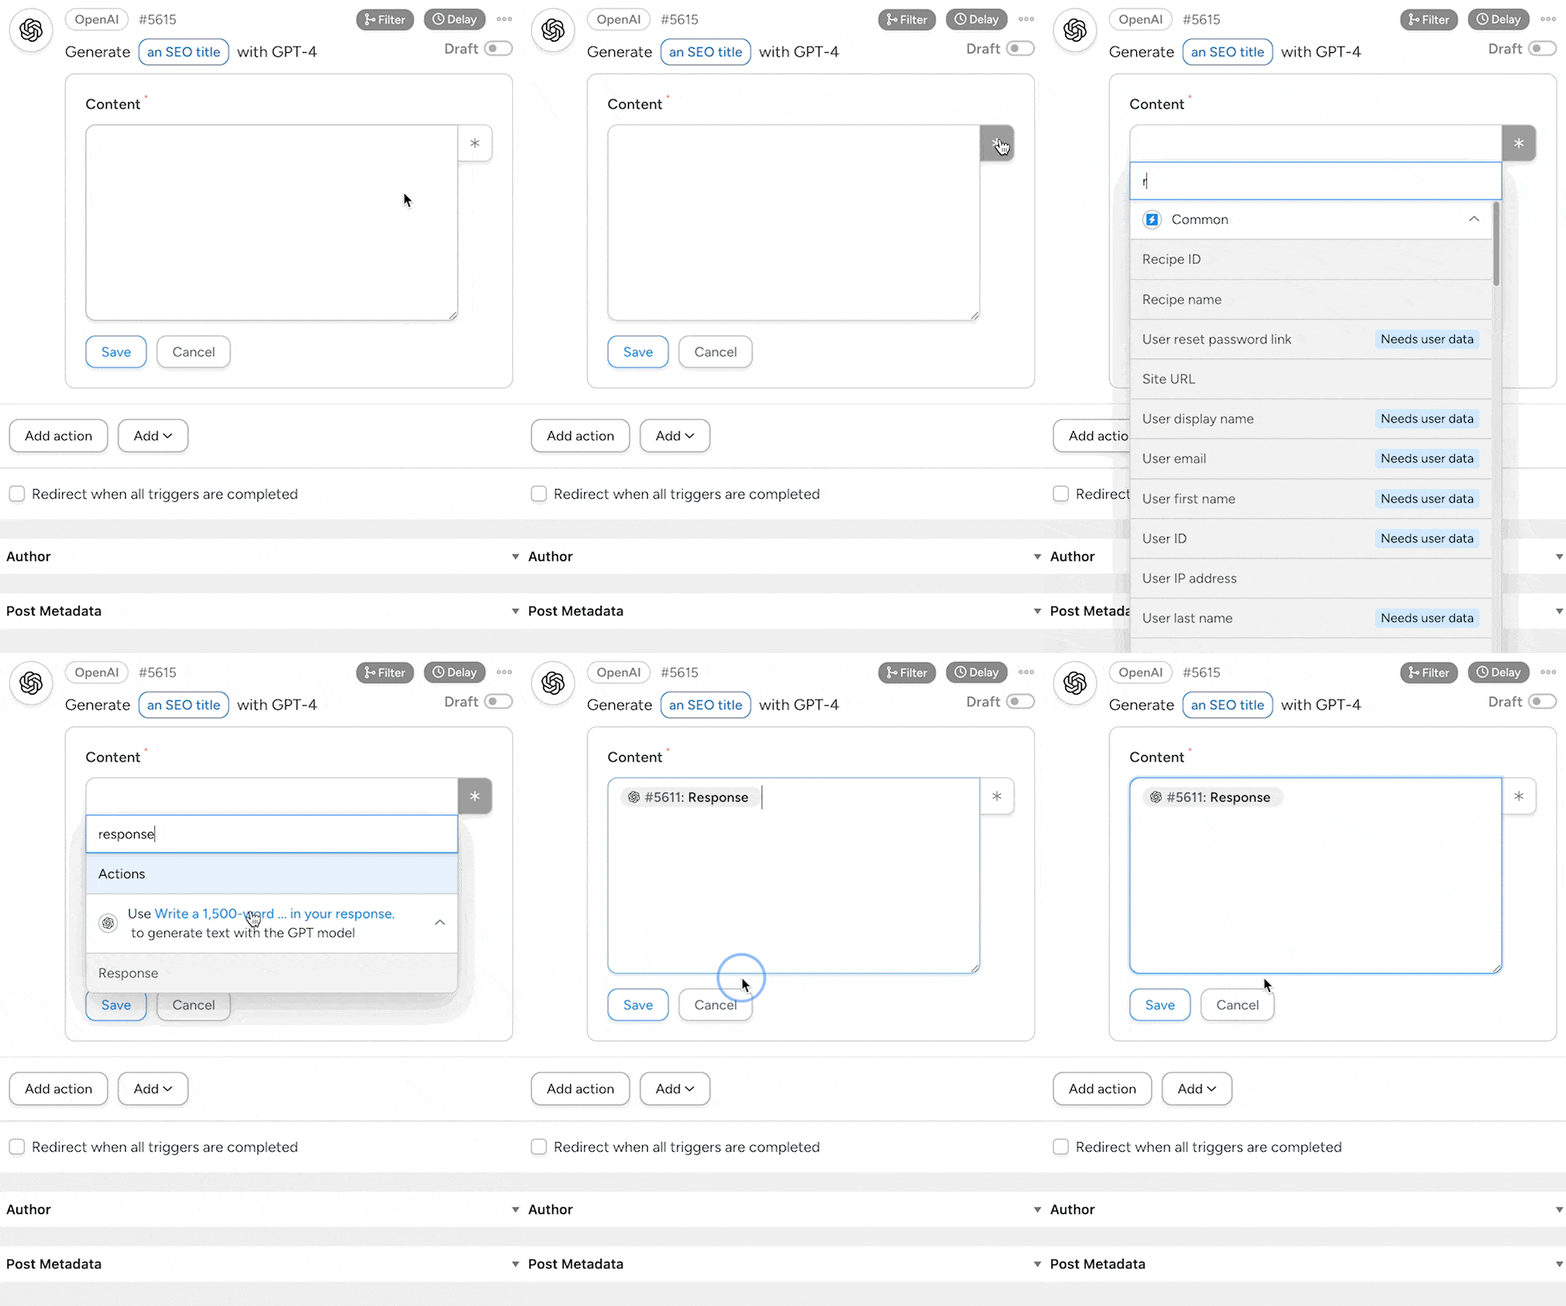
Automator will present you with a Content field that OpenAI will then analyze to generate an appropriate, SEO-friendly title. We’re going to fill out this field using a token—but these tokens are slightly different from OpenAI’s tokens.
Within Automator, a token represents dynamic data pulled from your WordPress site or from within recipes. In this case, we will select the token that represents the content that we had OpenAI generate in our first action.
To use tokens in Automator, click the Asterisk in a field and select the corresponding token. For example, we have selected the “Response” token from our first OpenAI action.
(Note: In any recipe with more than one action, Automator will assign each action with a number. In recipes such as this one with multiple actions from the same integration, you can easily identify actions by their given number.)
Once you’re finished, click Save.
Step 7: Configure Your Excerpt
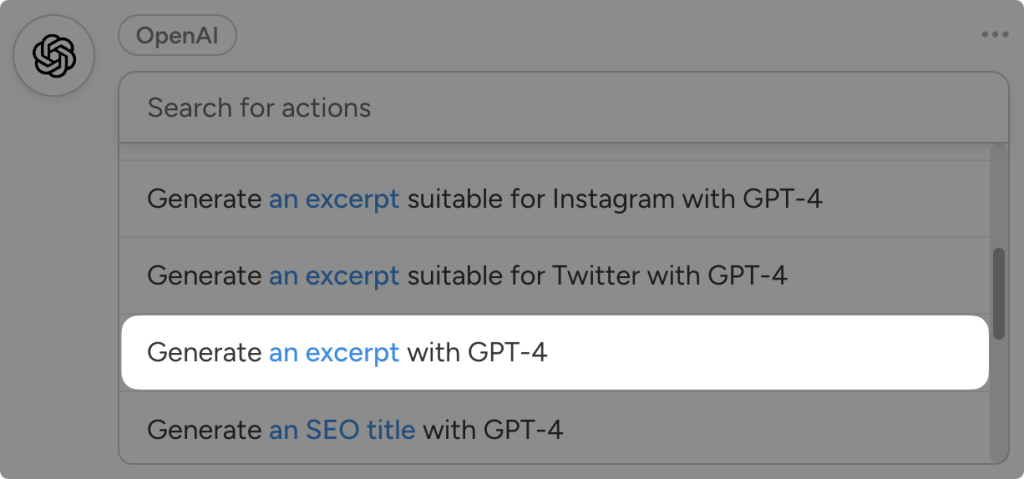
In the Actions panel, click Add action and select OpenAI. From the dropdown list that appears, select Generate an excerpt with GPT-4.
Once again, Automator will present you with a Content field as well as a Maximum length field. Fill out the Content field using the “Response” token from the first OpenAI action and determine the maximum length of the excerpt in words.
(Note: WordPress limits excerpt length to 55 words.)
Once you’re finished, click Save.
How to Publish WordPress Posts With AI Writing Tools
You’re just a few quick steps away from publishing a WordPress blog post with AI. Now that we have all of the AI-generated content that we need, it’s time to create our blog post.
Step 8: Configure Your WordPress Action(s)
In the Actions panel, click Add action and select WordPress.
From the dropdown list that appears select “Create a post“.
Automator will present you with a form to configure your new post. As you would from your WordPress Admin Dashboard, select the post Type, Taxonomies, etc.
(Note: We recommend setting the Status of your new blog post to “Draft” so that you can review and edit the AI-generated content before publishing it.)
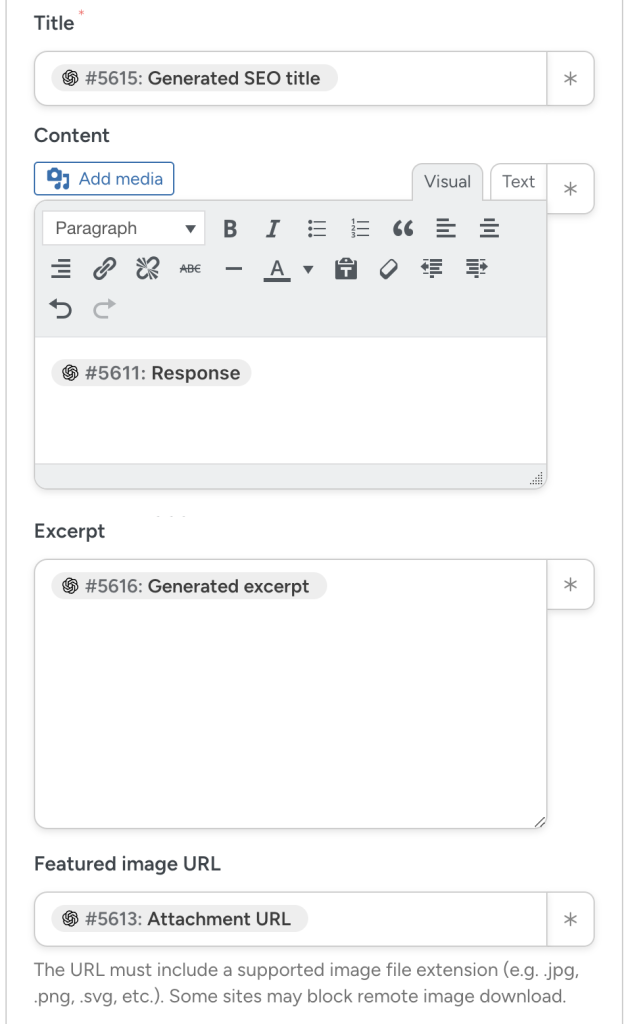
You can now fill out the Title, Content, Excerpt, and Featured Image fields using tokens from each of our OpenAI actions.
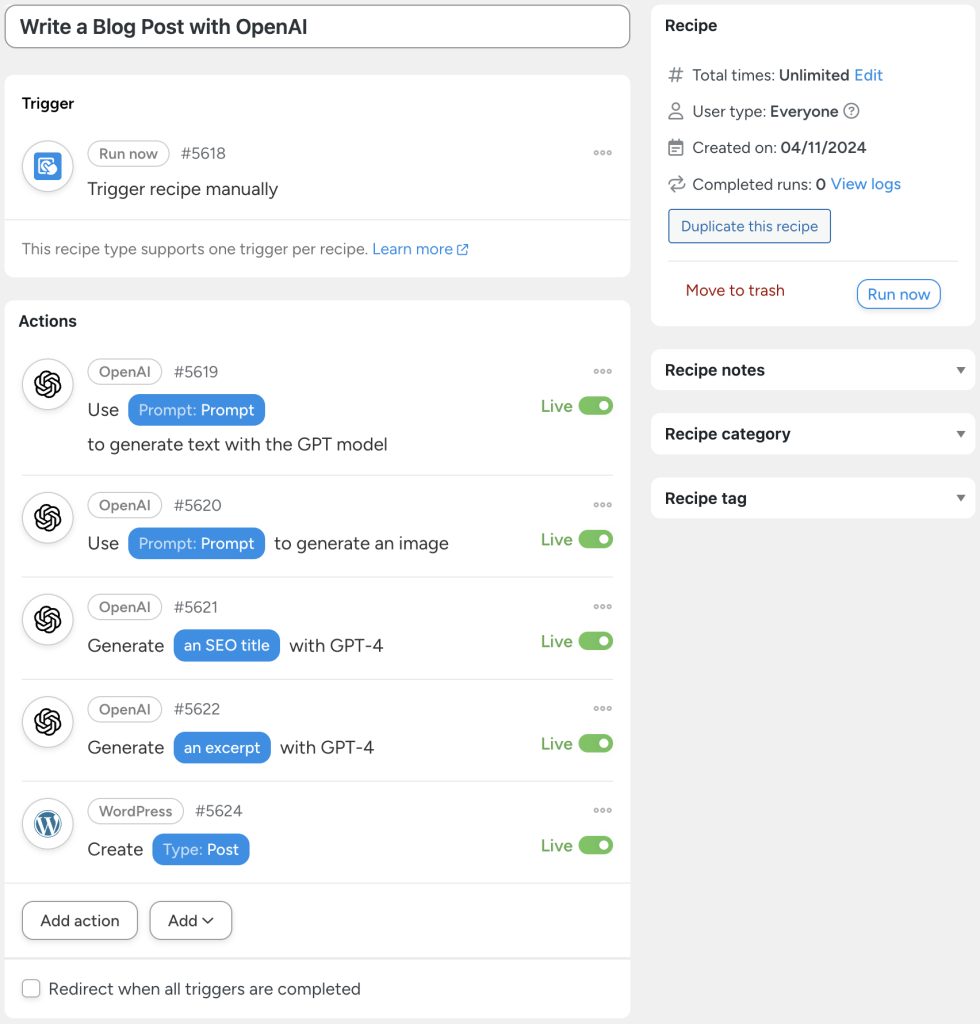
Once you’re finished, click Save. Your recipe should now look something like this:
(Note: I have shortened the prompts in this image strictly for illustrative purposes. The Automator recipe editor will display the full text of your OpenAI prompts for convenience.)
Step 9: Write With AI!
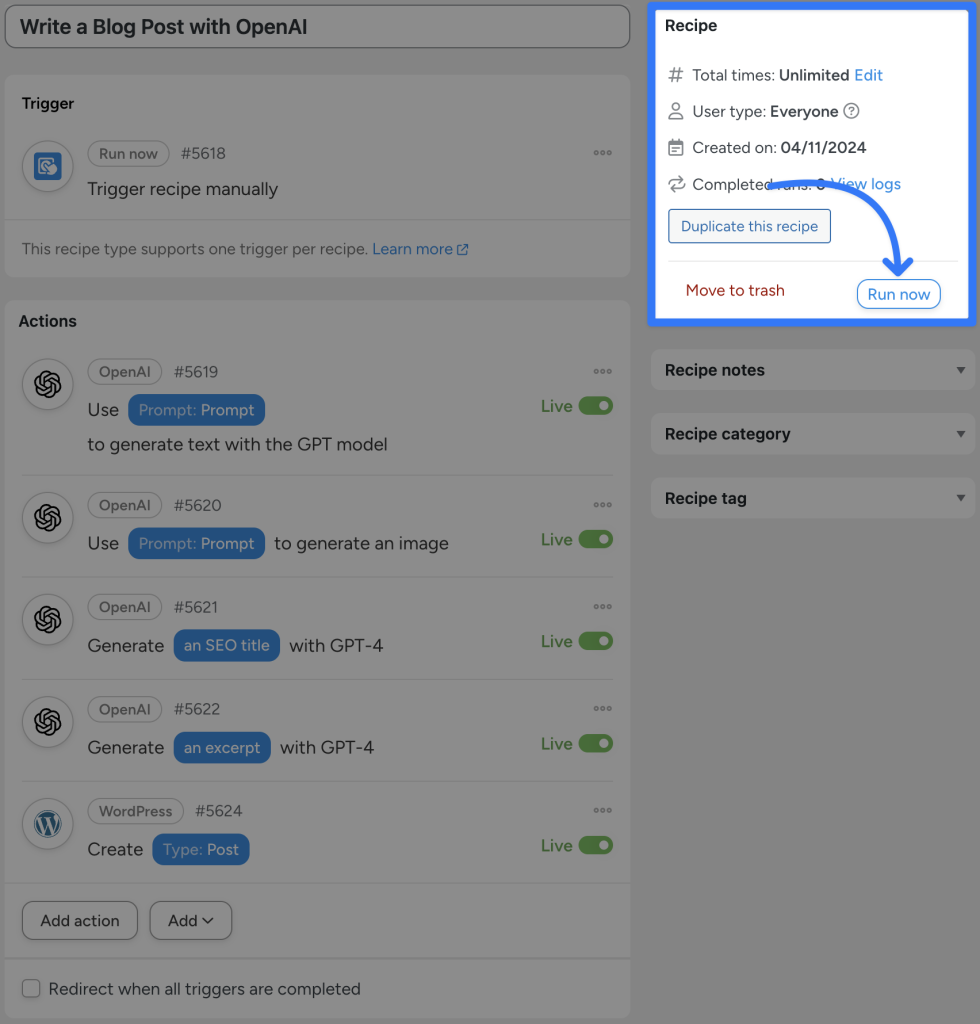
You’re just about ready to write your first blog post totally using AI. All you have to do is click Run now and kick your up as Automator and OpenAI do the work for you!
Eager to see what your new AI writing tool produced? Once the recipe is complete, head to your Posts and check it out.
After reviewing our own AI-generated content, editing here and there and adding some additional images, this is our published blog post:
Now that your blog post is live, it’s time to promote it across all of your platforms. And, of course, Automator can help with that too.
Using AI Writing Tools for WordPress to Automate Social Media Posts
Whether it’s a new blog post, product, or event, publishing your WordPress content is just the beginning. The real work is getting it in front of your audience.
Promoting content on social media is essential. But it’s also remarkably time-consuming—and, frankly, tedious. Crafting the perfect Instagram caption, creating a concise and engaging tweet, adding the relevant hashtags, editing the images, and then doing it all over again for each post… every day? No, thank you.
Thankfully—and, by now, you might not be surprised to hear this—there’s an AI tool for WordPress that can simplify your social media posting. Yes, you guessed it: Uncanny Automator.
The minute I clicked “Publish” on my blog post, another Automator recipe generated excerpts for Instagram and X. Simply by publishing my post on my website, my content went out across all of my chosen channels.
With just a few clicks, your social media channels can be buzzing with AI-crafted captions that capture attention and drive traffic—all for pennies. So, if you’re ready to leave the days of tedious social posting in the past, dive deeper into Automator’s powerful social media integrations. Check out our full guide and start turning posts into traffic.
Keep Your Content Evergreen
Hopefully, now, you’re ready to start generating tons of great content for your audience with the help of AI. But how do you stay on top of it all?
Managing your content is just as important as writing it. But, when you’ve got hundreds (or thousands) of posts and product descriptions to update, managing your content is a full-time job.
Using Automator’s Schedule integration and the research and SEO powers of AI integrations like Perplexity and Google’s Gemini, you can keep your current.
More AI Tools for WordPress
By now, you’ve seen how Uncanny Automator can transform your WordPress content creation, but the magic doesn’t stop with blog posts and social media. Automator’s OpenAI integration brings an entire toolkit of AI-powered features to WordPress, turning your site into a dynamic, automated powerhouse.
Sentiment Analysis
Ever wonder how your audience feels about your content? Or maybe you’re not sure that your latest email campaign is striking the right tone.
With AI-powered sentiment analysis, Automator can evaluate comments, support tickets, or feedback forms, giving you insight into customer sentiment in real-time. Imagine being able to spot a rising trend in positive comments on a new product—or catch negative feedback before it impacts your brand.
With Automator’s AI-powered sentiment analysis, your site doesn’t just listen; it understands.
AI-Powered Customer Support
We’ve all been there: customer support inboxes can feel endless. But what if your WordPress site could do some of the heavy lifting? Automator’s OpenAI integration lets you create automated responses for common inquiries, offering quick, helpful answers to customers and directing them to the relevant resources.
With just a few configurations, you can set up Automator to handle those repetitive requests, allowing you to focus on the cases that need a personal touch.
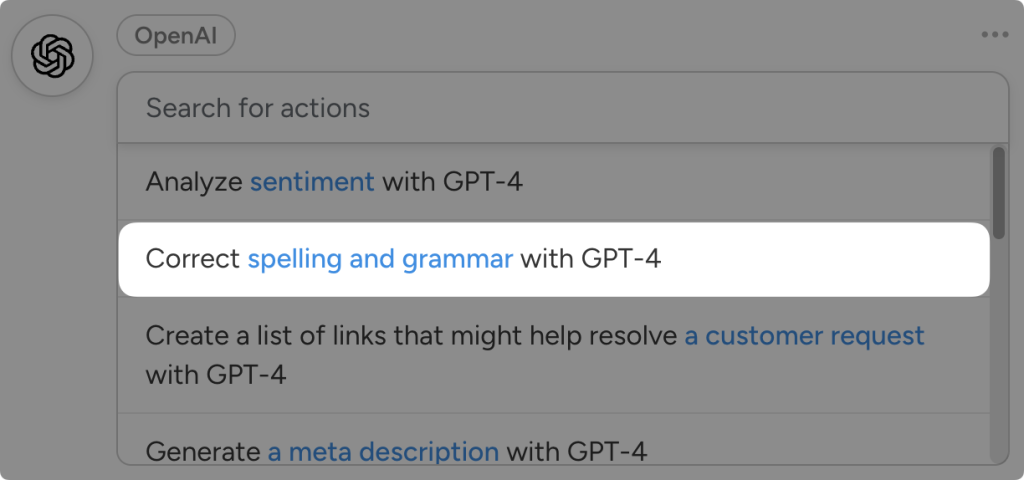
Proofreading and Editing
Writing great content is only part of the equation—making sure it’s polished and error-free is the next challenge. Automator’s proofreading and editing tools can scan your text for grammar, punctuation, and flow, so you can publish with confidence.
Whether it’s a blog post, a product description, or a promotional email, Automator helps your content go from draft to polished in seconds.
With these additional AI tools, Uncanny Automator is more than just an automation plugin—it’s your WordPress sidekick, here to streamline tasks you didn’t even know you could automate.
Ready to see the difference AI can make? Unlock these powerful tools today and let Automator take your WordPress site to the next level>>>.
Frequently Asked Questions
Conclusion
And there you have it! With Uncanny Automator and OpenAI’s powerful integration, turning WordPress into an automated content machine has never been easier—or more affordable.
From blog posts and images to social media and SEO, AI-powered tools are here to save you time, boost engagement, and let you focus on what you do best.
If you haven’t already, grab your Automator Pro license, unlock these incredible features, and start creating content that practically writes itself>>>.
Until next time, happy automating!







This Post Has 0 Comments